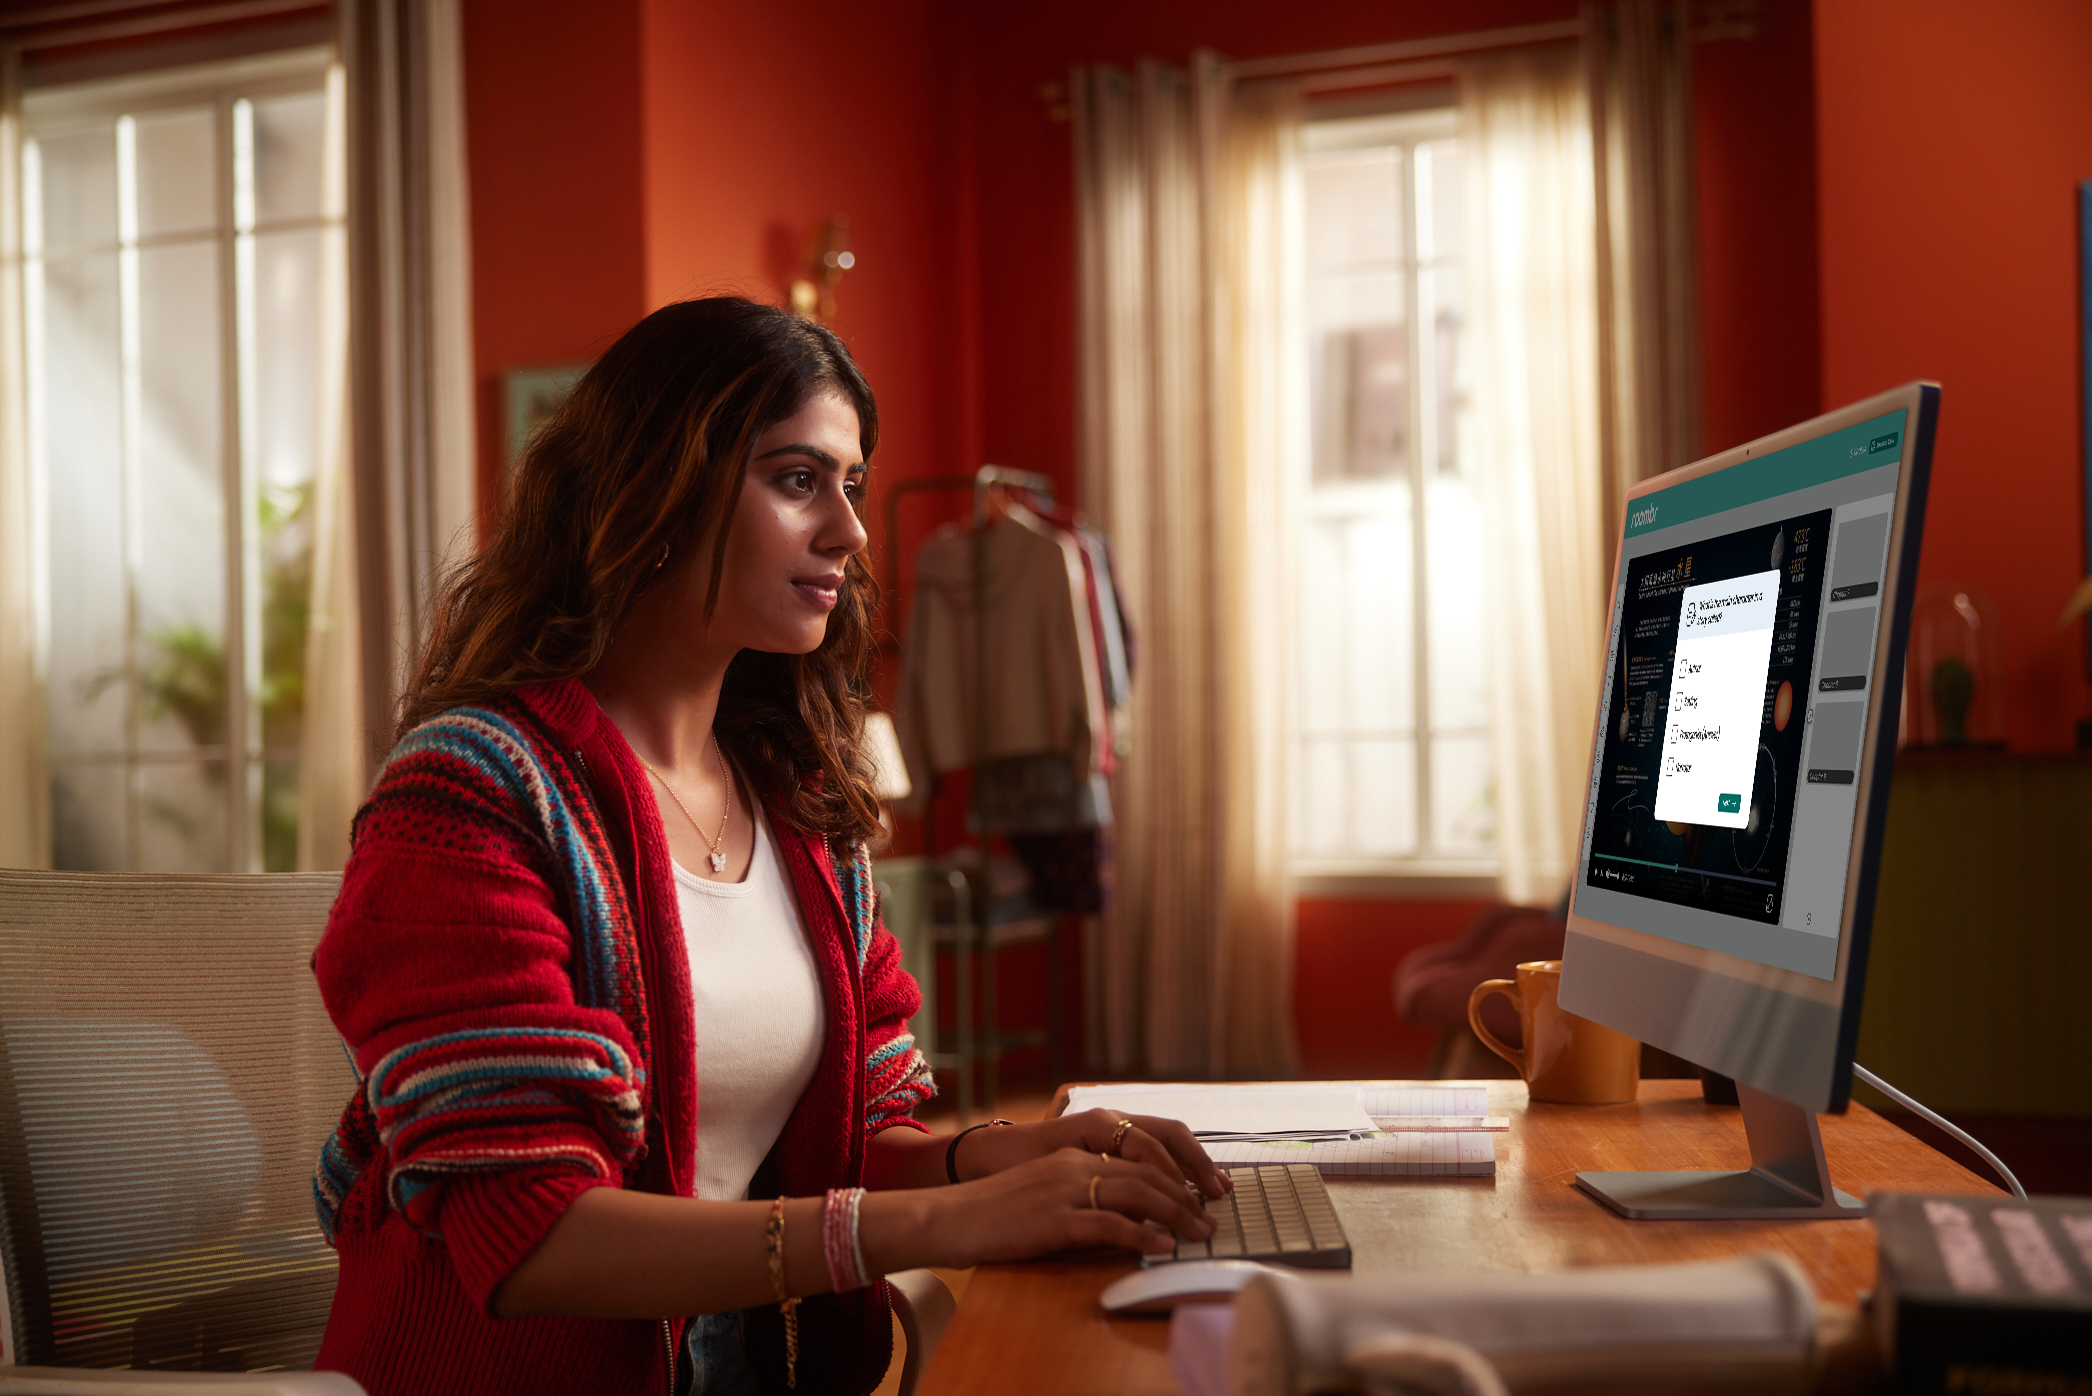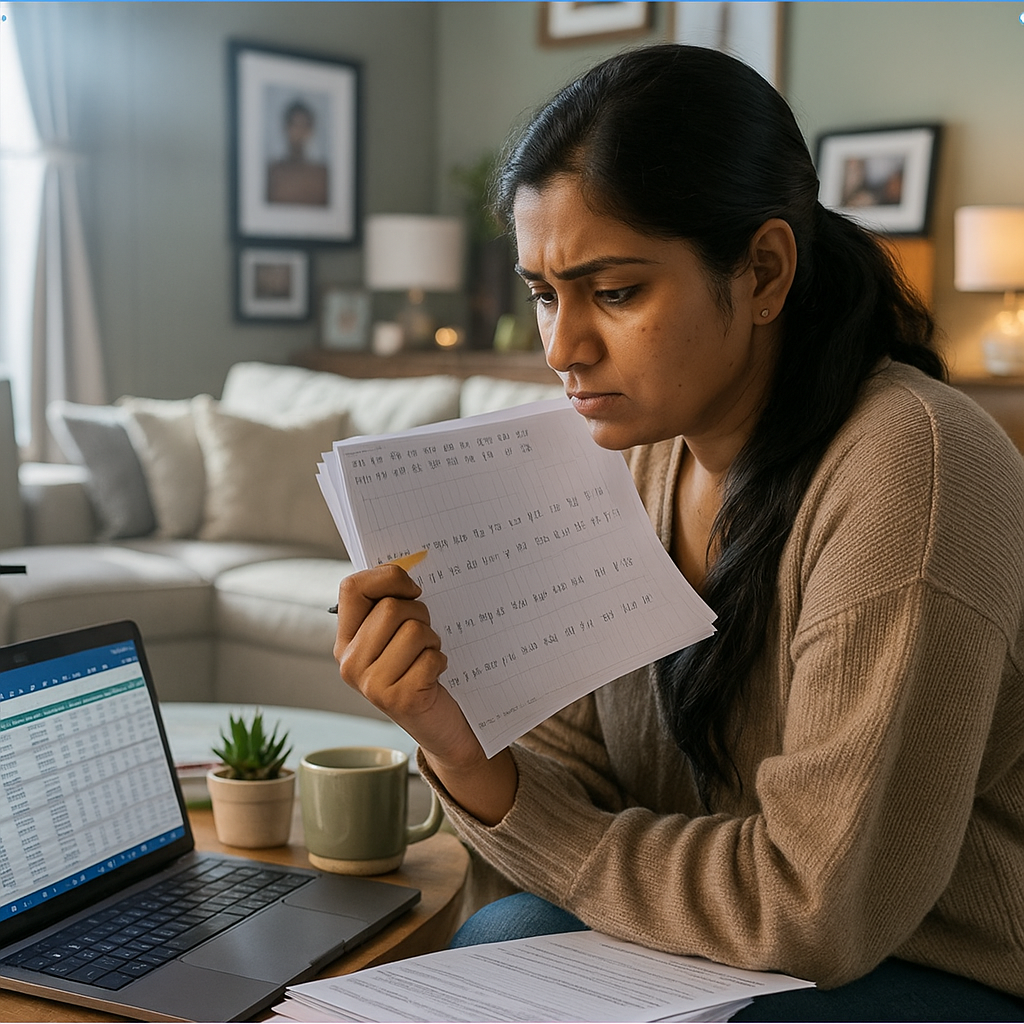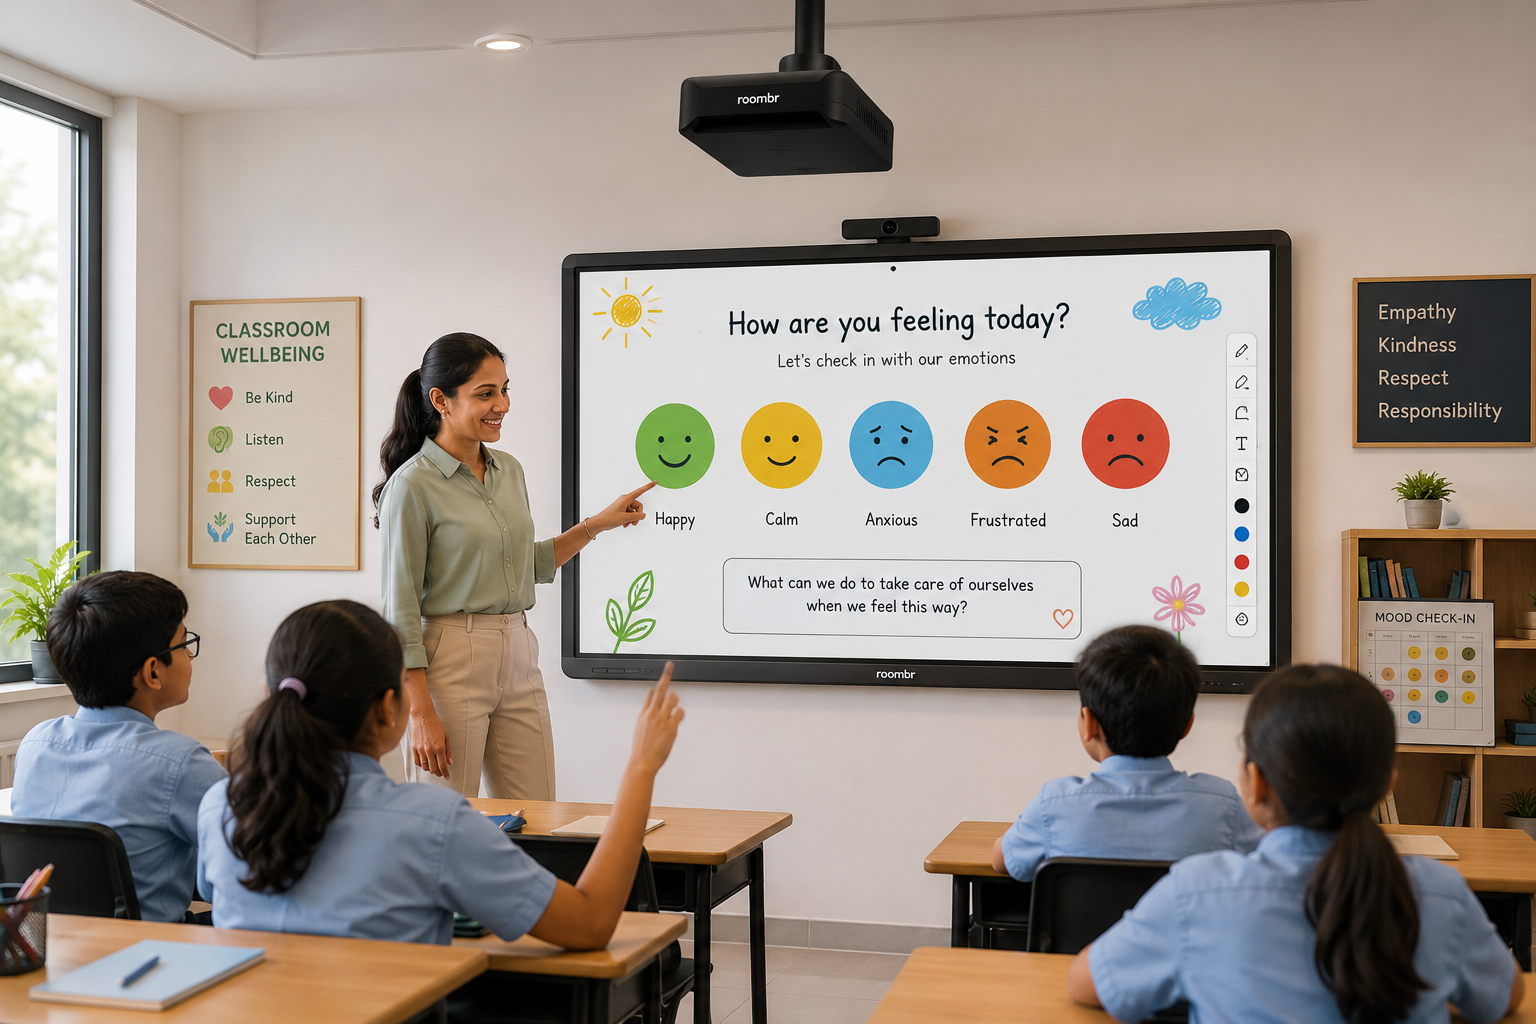

One of the new challenges facing schools is distance learning. Thanks to technologies such as interactive displays, distance learning is increasingly seen as an option, and even a solution, for times when it’s impossible to bring teachers and students together.
What is distance teaching? It means teaching when teachers and students are not in the same physical space. In this model, digital presence replaces physical presence. There are many ways this can work—synchronous live classes, asynchronous lessons, or hybrid setups. The goal is clear: make remote teaching feel as real, immersive, and engaging as possible.
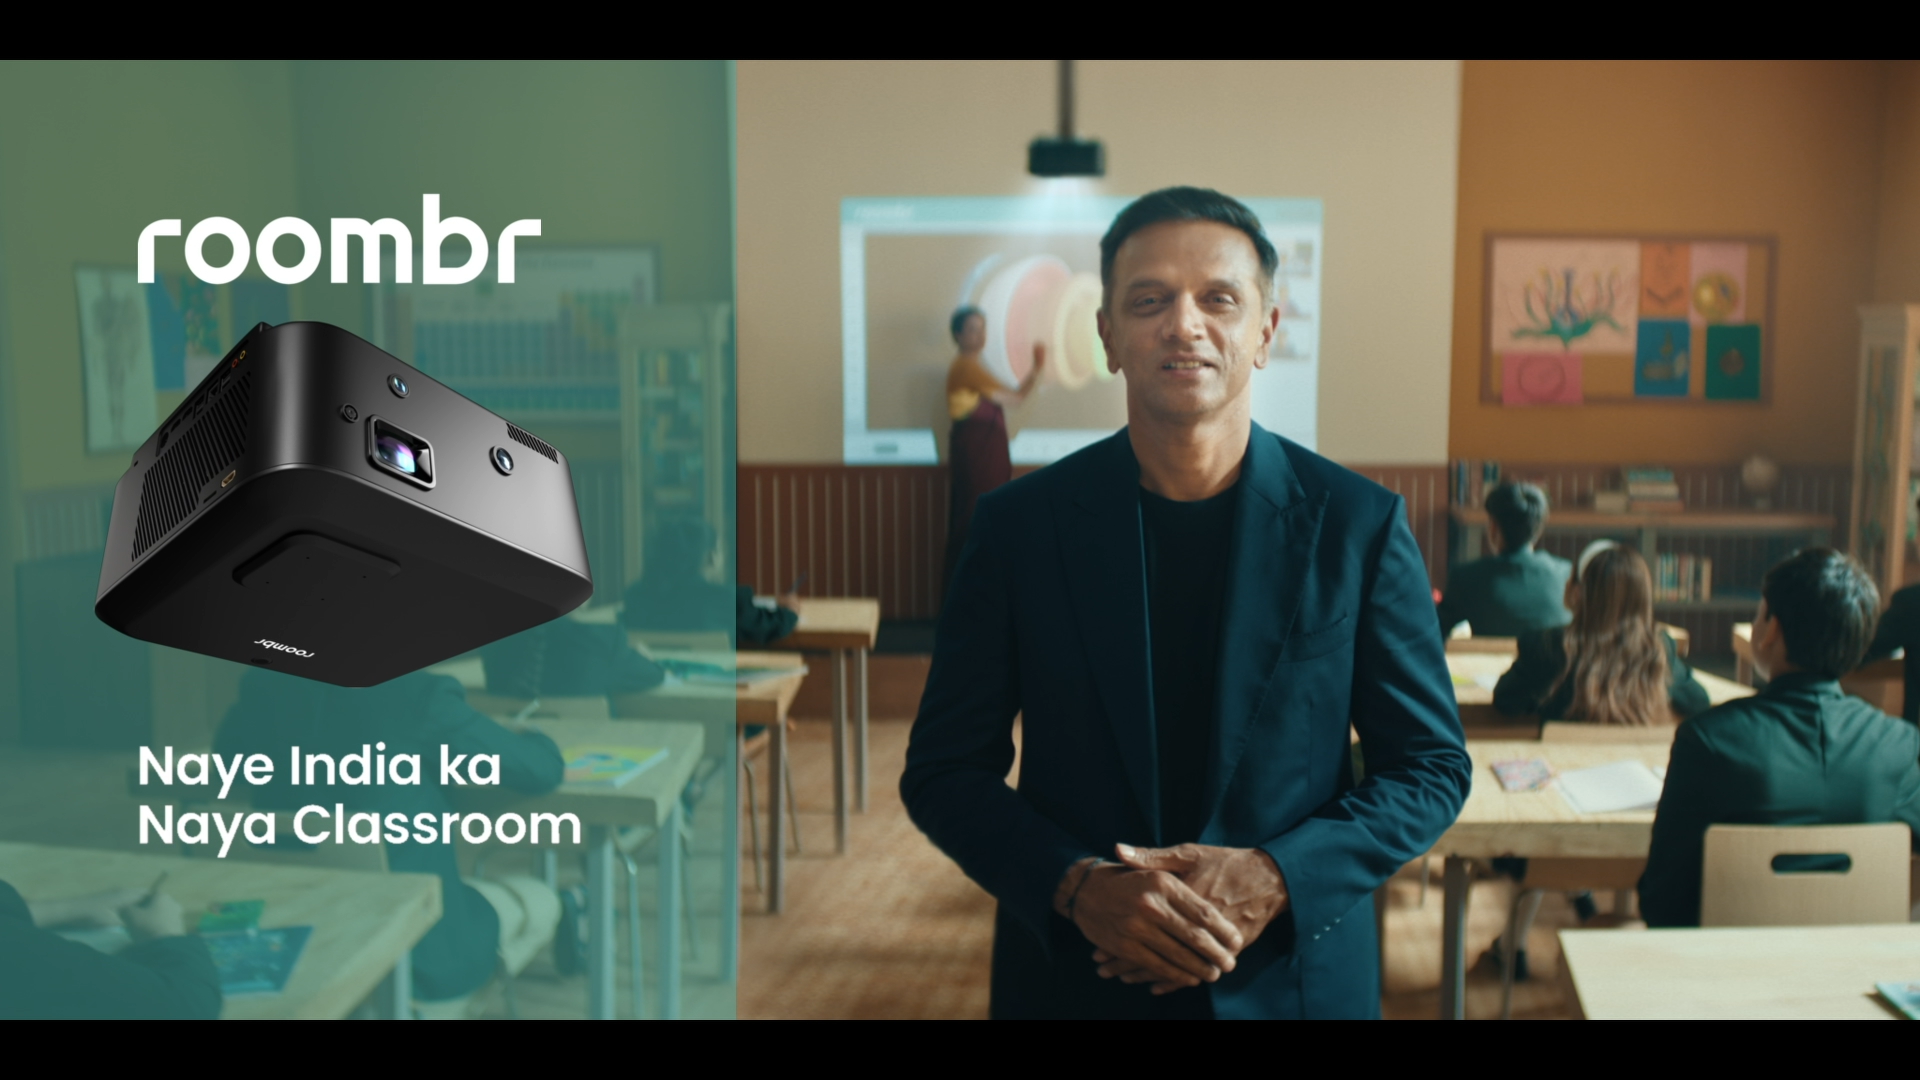
In this guide, we’ll walk you through how to use an interactive display (also called an interactive flat panel or digital board for online teaching) in remote and hybrid classrooms. We’ll show how Roombr’s all-in-one digital classroom can make it easy, powerful, and effective.
Why Use an Interactive Display in Remote Teaching
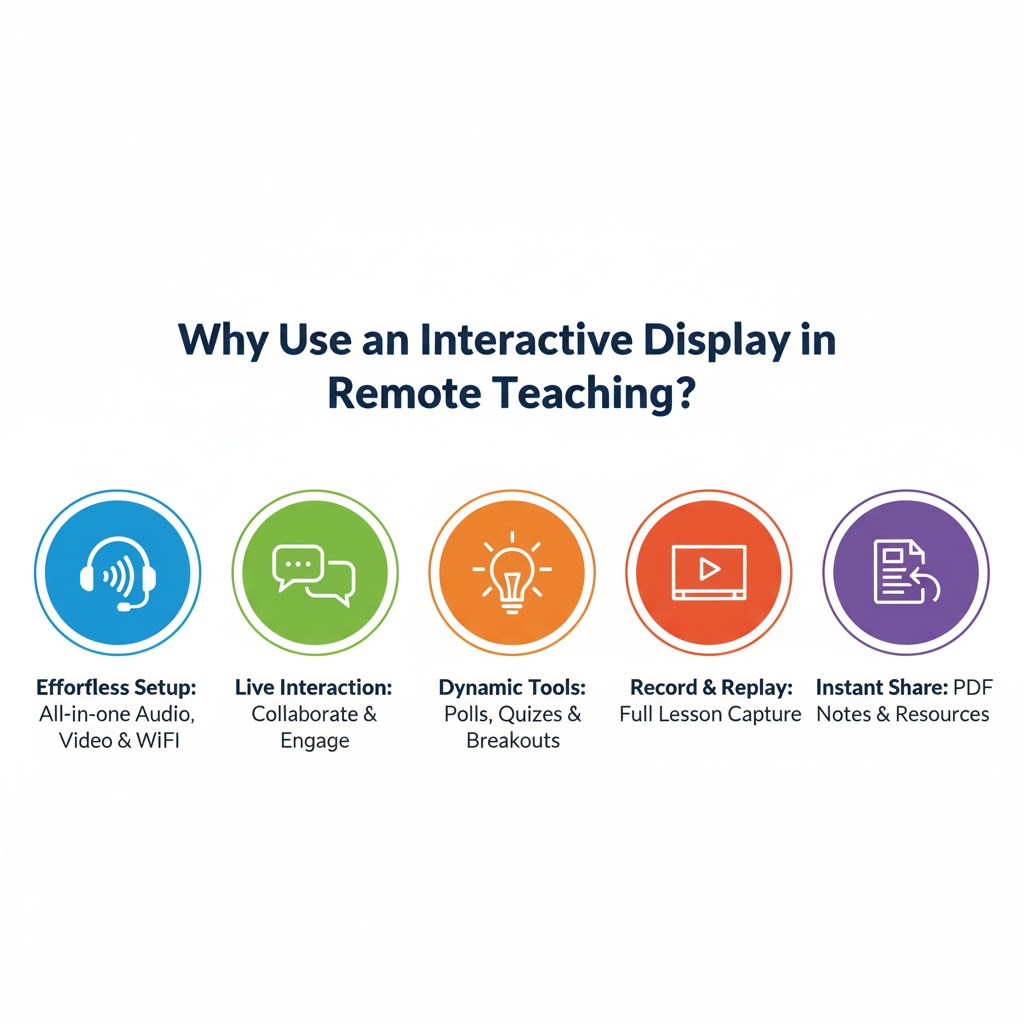
- Ensure Maximum Teaching Comfort (Sound, Video, Wifi): A built-in dual camera, high-quality speakers, and a super sensitive microphone inside a device like Roombr reduce friction. You don’t juggle extra gear; the display handles it all.
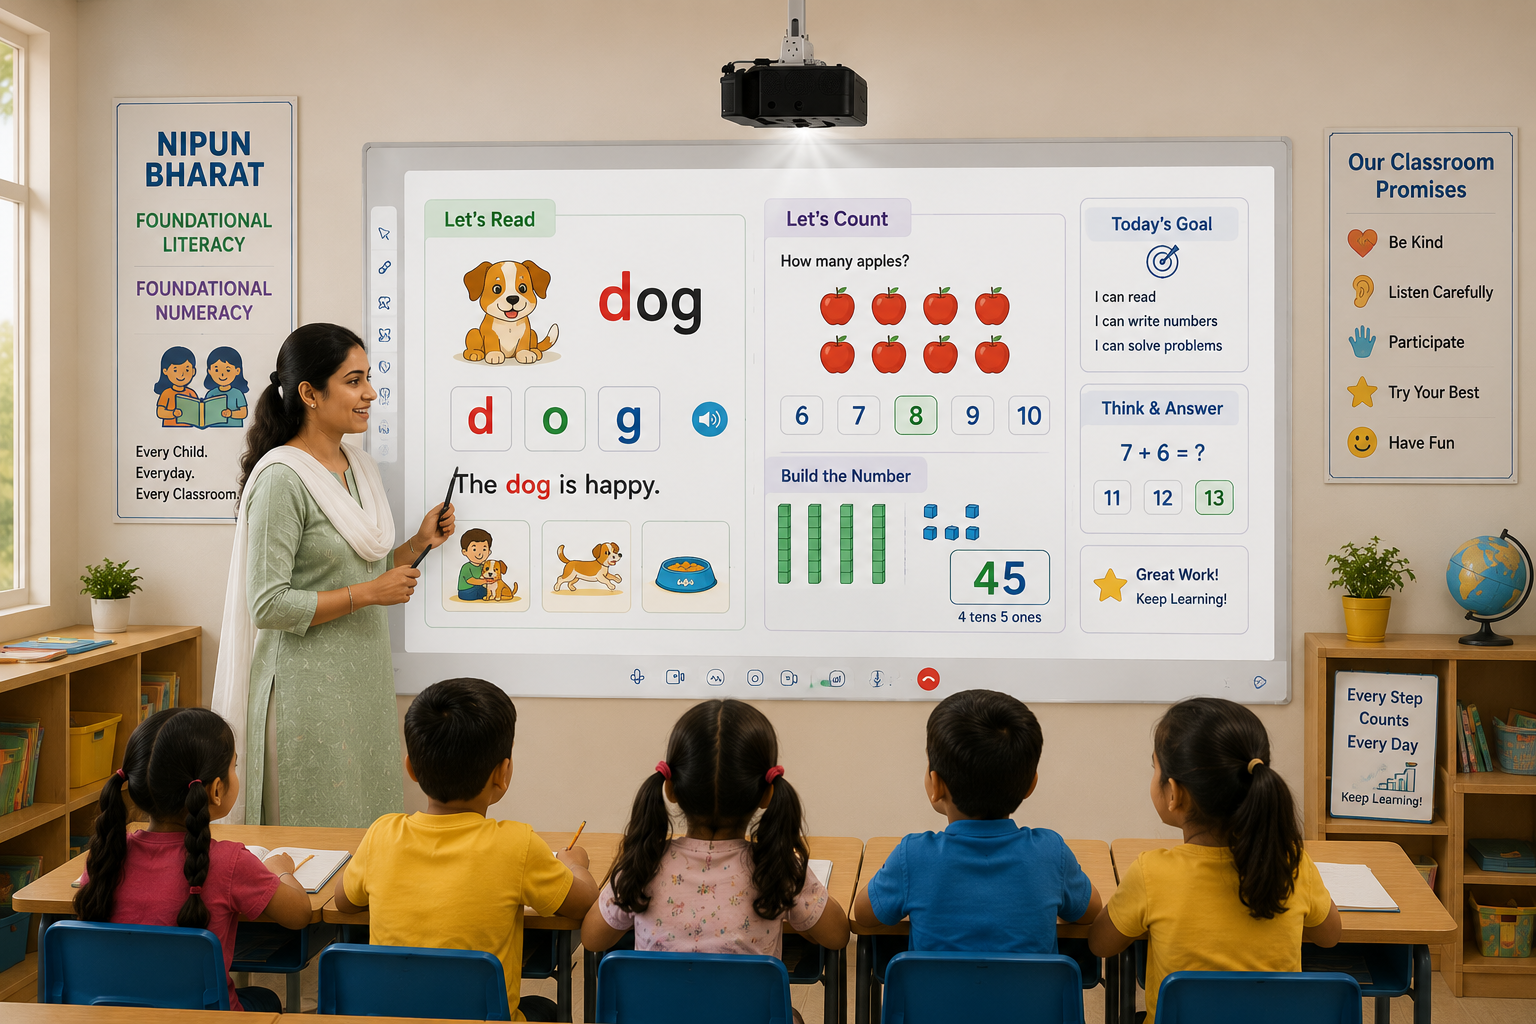
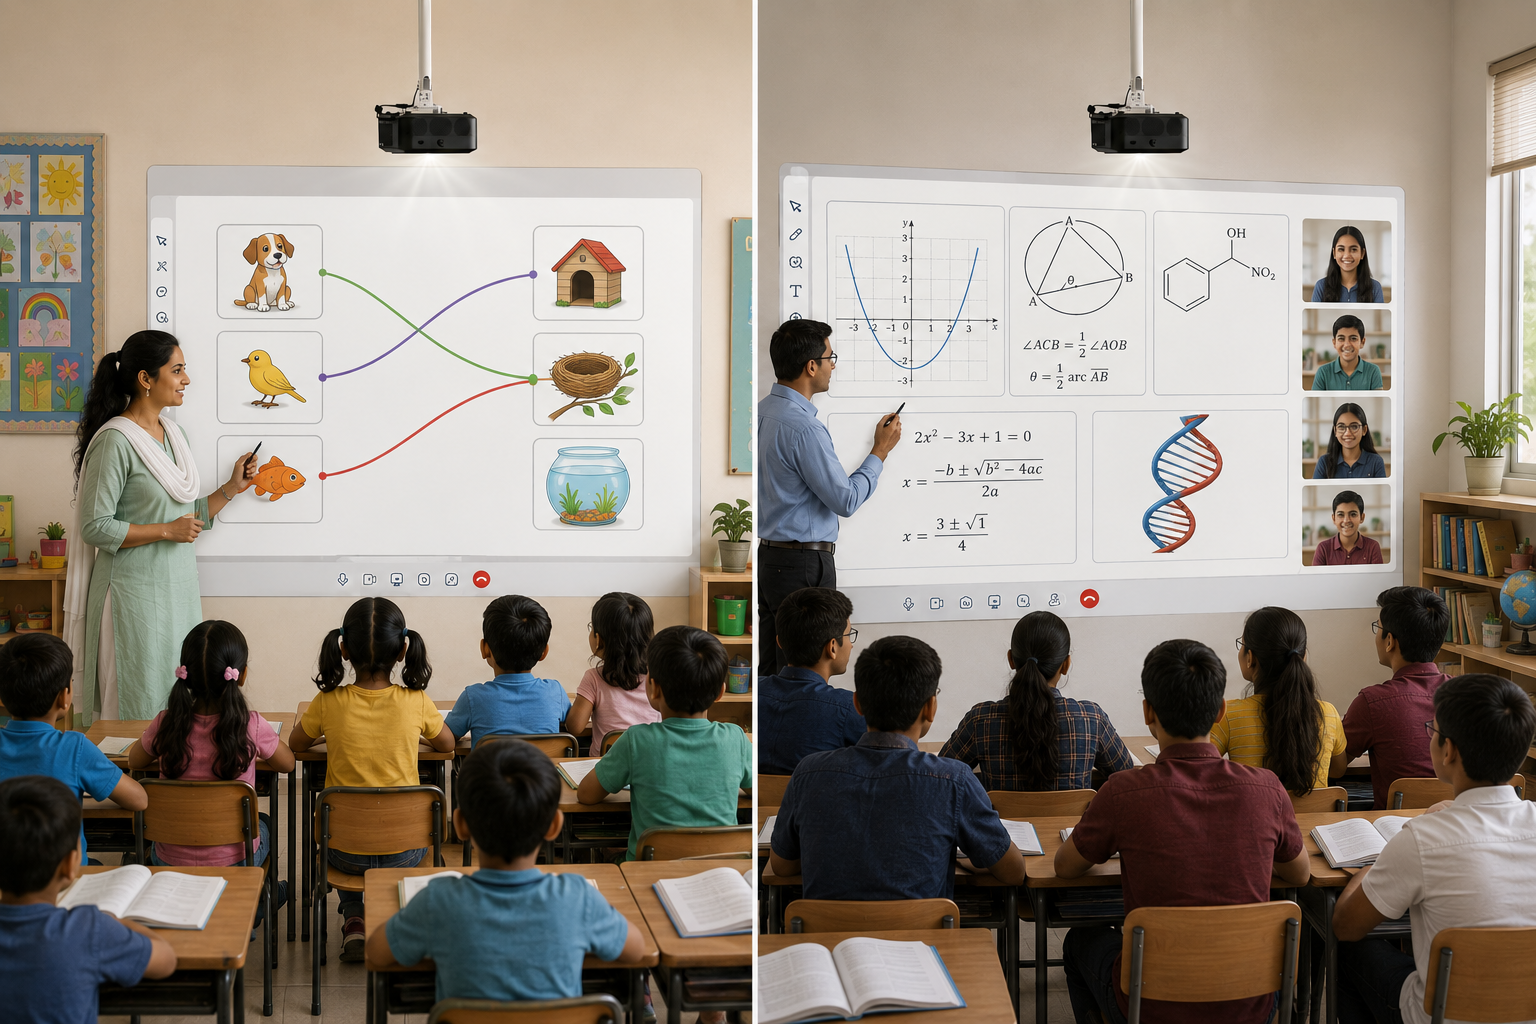
- Maintain an Educational Link by Facilitating Remote Interaction: Students can annotate, ask questions, and collaborate live on the screen. It recreates the classroom “back-and-forth,” even when people are apart.
- Keep Students Motivated with Tools Adapted to Online Courses: Using features like polling, quizzes, group breakout zones, and drawing tools keeps students active rather than passive.
- Keep a Record of the Course by Recording Everything that Happens on Screen: You can record video, whiteboard annotations, voice, and camera feed in sync. Later, students can replay the class.
- Send Your Class the Course Board in Pdf Format at the End of the Course: At the end of a session, export your whiteboard or slides as PDF and share with students. That reinforces learning and gives them a reference.
How to Set Up and Use an Interactive Display for Remote Teaching
Below is a practical, step-by-step usage guide especially helpful if you are evaluating or using a technology like Roombr’s system.
1. Unbox and Mount (Plug-and-Play Style)
One beauty of Roombr’s all-integrated device is you don’t need multiple peripherals. Mount it on the wall (as a walltop computer), connect power and network, and it’s ready.
2. Boot and Configure
It runs Windows 11 on i5/i7 CPUs. Complete the initial setup: network (WiFi or Ethernet), camera and microphone calibration. Because components are integrated and certified (ISO, BIS), compatibility is baked in.
3. Connect with Your Video Conferencing Platform
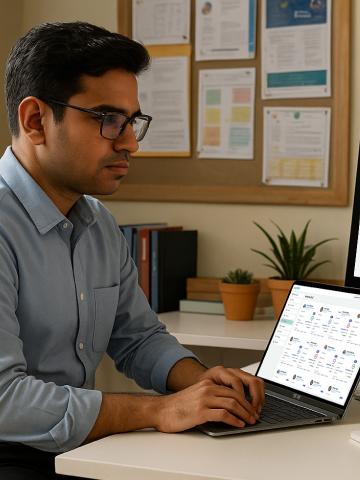
Roombr comes equipped with its own all-in-one video conferencing app, allowing educators to conduct live classes, share content, and interact with students seamlessly. With Roombr, there’s no need to switch between multiple tools. However, if your institution already uses platforms like Zoom or Microsoft Teams, our solution integrates with them too. Simply select Roombr’s camera, mic, and screen as your devices, and your interactive wall becomes a shared, collaborative teaching canvas.
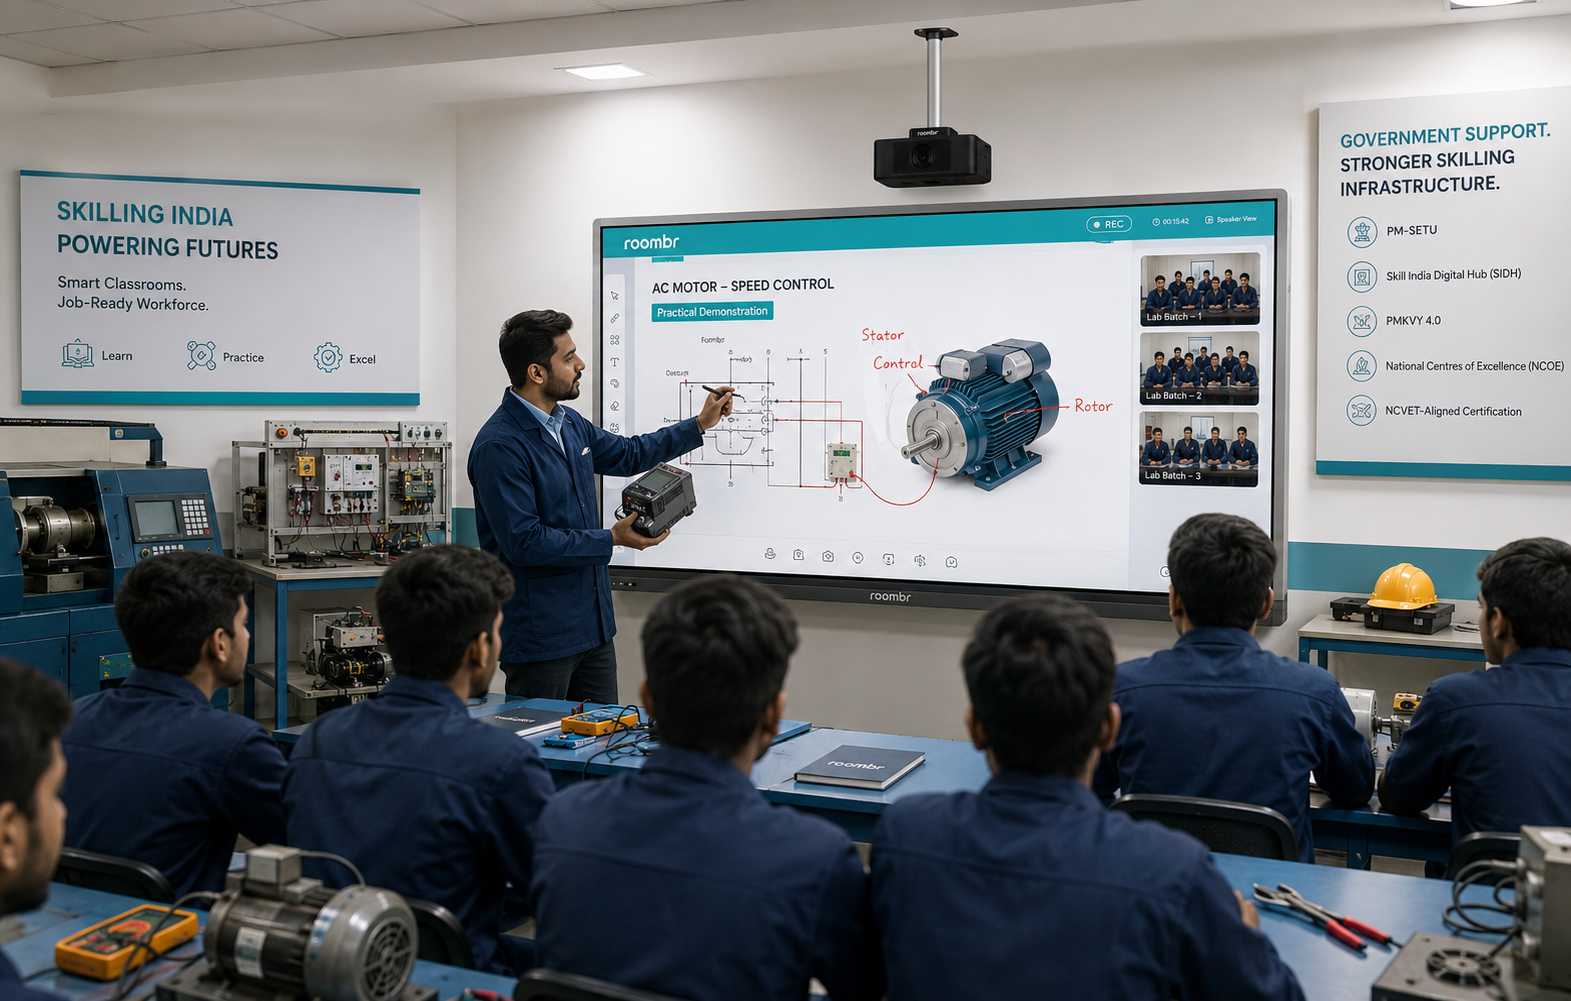
4. Use Annotation and Presentation Modes
Display your lesson (PowerPoint, PDF, slides). Use touch or stylus to annotate live. Draw, highlight, move objects. Students see your marks in real time.
5. Record Session + AI Editing
Press record. All visuals, voice, and whiteboard actions are captured. Use AI editing tools to trim silences, highlight key segments, or add subtitles.
6. Share Recordings + Assignments
With Roombr’s built-in LMS, all recorded sessions are automatically stored and made available to students for on-demand access. Teachers can easily attach tests or assignments to each session, track progress, and identify learning gaps. If your institution already uses another LMS, Roombr offers seamless export options, allowing you to share recordings and materials effortlessly across platforms.
7. Analyse and Iterate
Use analytics (participation reports, quiz stats) to refine future delivery or re-target students who struggled.
Why Roombr Stands Out
1. World’s First Patented Walltop Computer
Roombr isn’t just a smart board for teaching. It’s the world’s first walltop computer. Your wall becomes a life-size interactive, computing display. This gives video conferencing a life-like feel. Collaborators appear as if they occupy the same space.
2. All-in-One, Plug-and-Play Simplicity
You won’t need to piece together cameras, mics, speakers, and PCs. Roombr integrates all these inside a seamless unit. No extra wires, no compatibility headaches.
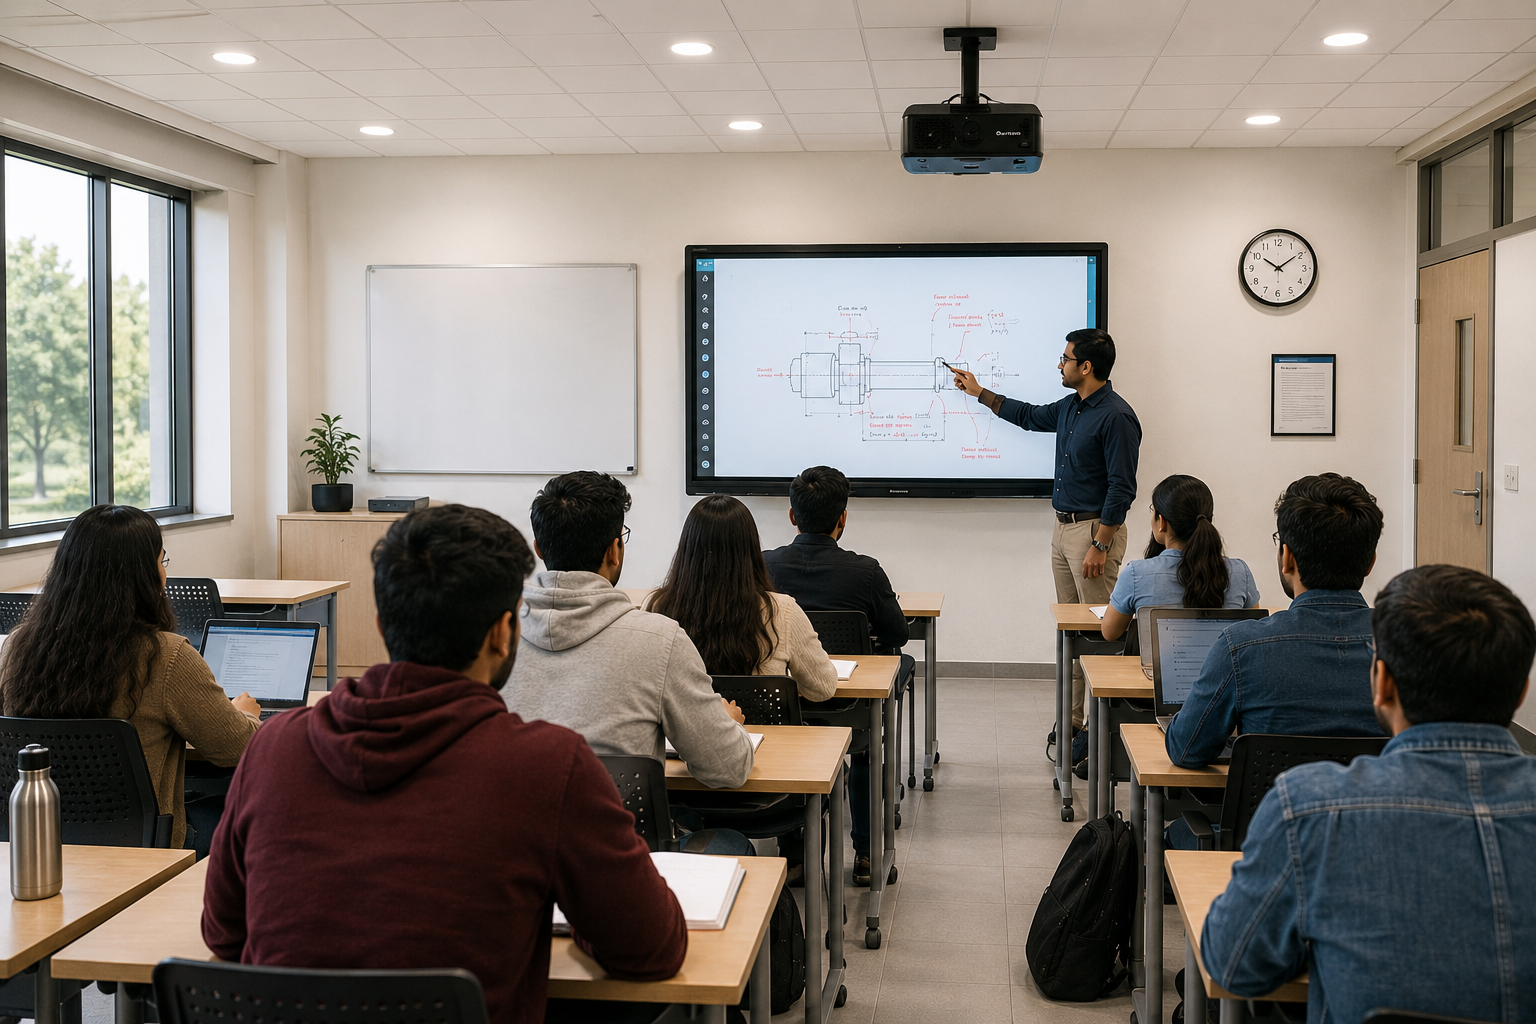
3. Immersive Sizes (120″ to 200″ HD)
While many brands stick to 65–86″, Roombr pushes the envelope. Their interactive display sizes go up to 120 inches and even 200 inches, making large lecture halls feel personal and immersive.
4. AI Editing, Recording, Assessment Built-In
You don’t have to rely on external software. Roombr’s AI tools help with editing and content enrichment. Plus, you can attach tests and assignments per class and monitor student scores.
5. Trusted and Certified
Roombr is certified by ISO and BIS. These certifications reflect strict benchmarks in quality, reliability, and safety. Trust isn’t a marketing slogan, it’s engineered in.
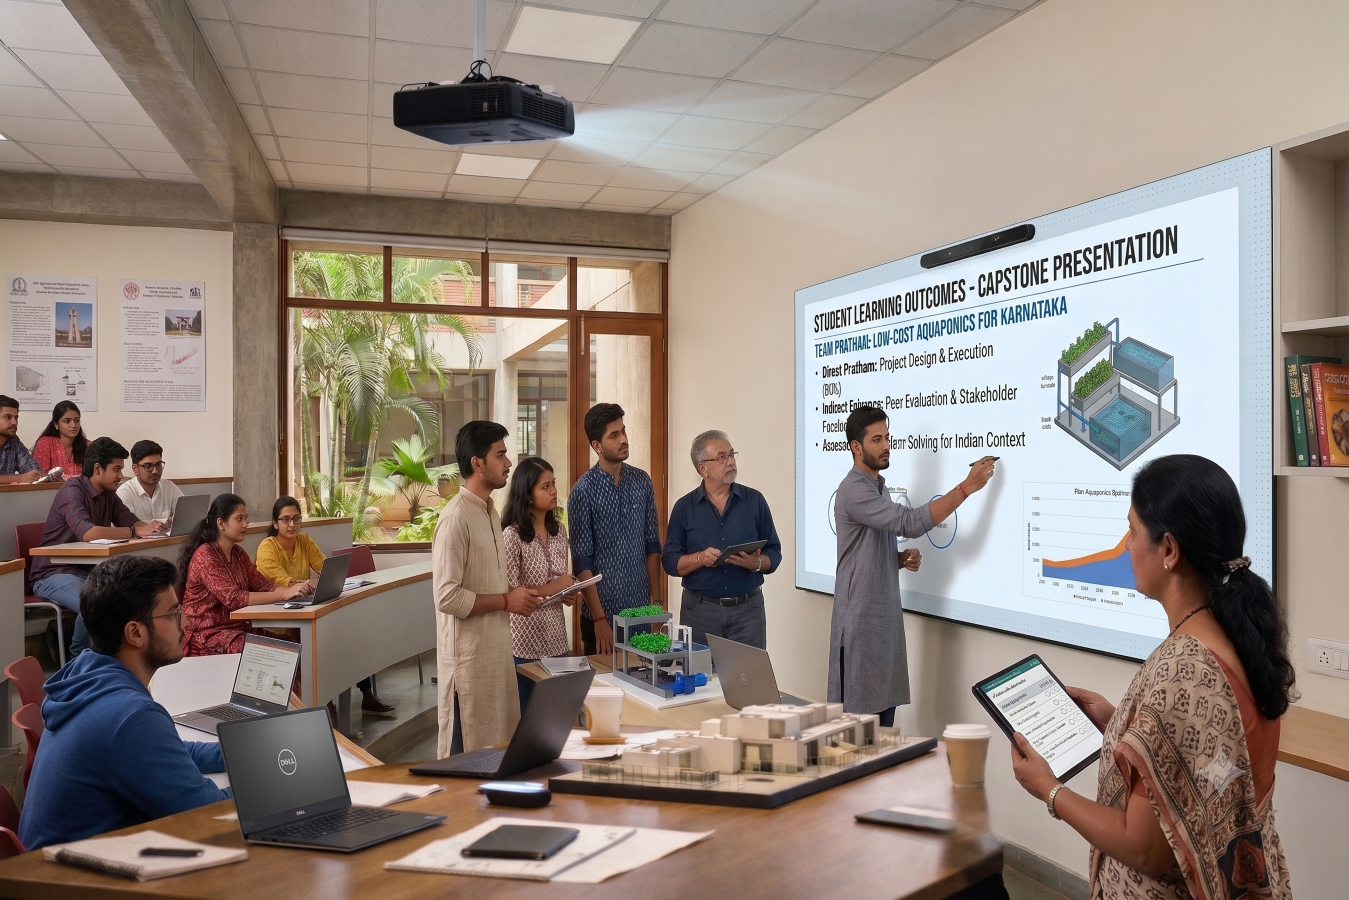
6. Supports All Levels of Education
From K–12 schools to colleges and universities, Roombr is built to scale. The same system works in a small classroom and a large lecture theatre.
Tips to Maximize Impact with Interactive Displays
- Train Your Teachers: Even the best tech fails if the user doesn’t know how to drive it. Conduct workshops to make teachers comfortable with annotation, layout, and controls.
- Use Bite-Sized Modules: Long remote lectures cause fatigue. Break content into 15–20 minute modules, interspersed with quizzes or interaction.
- Design Visuals for Large Format: Use high contrast, large fonts, minimal clutter. On a 120–200″ screen, clarity matters even more.
- Blend Synchronous + Asynchronous: Record sessions, then supplement with quizzes, reading, and discussion threads.
- Solicit Feedback Routinely: Ask students what works, what’s hard on their end (connectivity, screen size). Use that to adjust.
Conclusion
When distance or hybrid teaching is needed, an interactive display becomes the anchor of your digital classroom. With smart board features, high quality audio/video, recording, and interactivity, you restore many of the advantages of in-person teaching.
Frequently Asked Questions
Q1: What’s the difference between an interactive display and a regular digital board for online teaching?
An interactive display is more than just a screen. It combines touch, computing, camera, mic, speakers, and software into one unit. A regular digital board often lacks built-in peripherals or recording capabilities.
Q2: Can I use Roombr for both in-class and remote teaching?
Yes. Roombr supports hybrid teaching. When students are in class, you can use its interactive screen. For remote learners, live streaming, recording, and sharing features keep them involved.
Q3: Is it difficult to operate for teachers who aren’t tech-savvy?
Not really. Since Roombr is plug-and-play and comes preconfigured, basic usage (annotation, recording, sharing) can be learned quickly. Training helps accelerate adoption.
Q4: How secure are the class recordings and shared materials?
Roombr follows industry standards for data security and access control. Teachers decide who can access recordings and can manage permissions.
Q5: What sizes of classrooms can this work in?
Roombr is designed for flexibility. Its 120″ and 200″ interactive displays are ideal for medium sized classrooms to lecture halls. Its modular support fits smaller classrooms too.
Q6: Do I need extra software or hardware to use Roombr’s AI editing and assessment tools?
No, these are integrated. You won’t need third-party tools for recording, editing, or attaching assessments. They’re built into the system.
Contact Roombr Today for a Free Demo
Roombr Digital Classroom offers a free demo at your convenience and location to help you understand and navigate the technology seamlessly. Experience firsthand how our all-in-one interactive display can revolutionize your remote teaching and student engagement.

Foziya Abuwala
Share
Step Into the future of
Education with Roombr