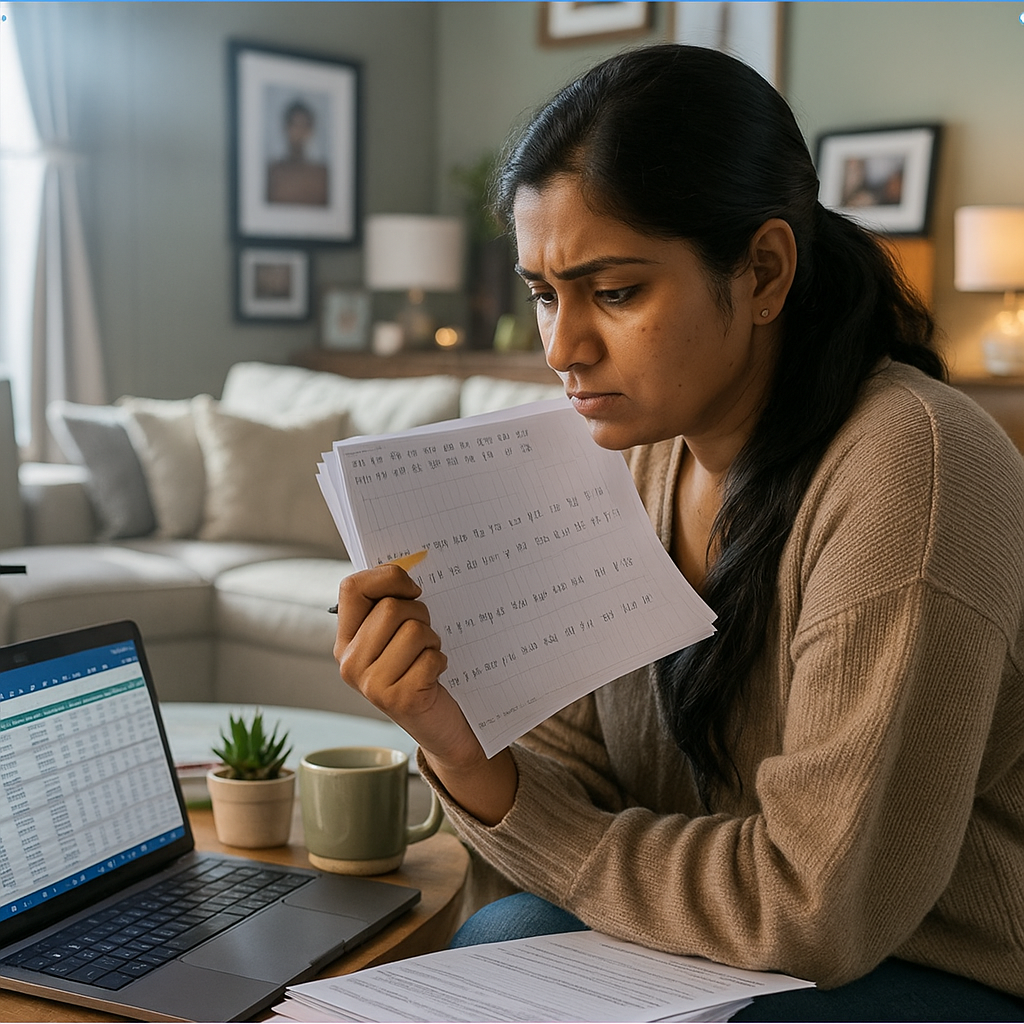

You’ve secured the budget for a new digital classroom with a clear goal to empower your teachers, engage your students, and create a modern learning environment. But now you face a critical fork in the road, a choice that will dramatically impact your installation time, long-term budget, and overall success: Do you opt for a fully integrated, all-in-one solution, or do you build it yourself from separate components?
On one path, you have the promise of a single, cohesive smart classroom solution. On the other hand, the seeming flexibility of a Do-It-Yourself (DIY) approach, sourcing an interactive panel, a computer, a camera, and software from different vendors.
This article provides a transparent, step-by-step comparison of the setup process, the true costs, and the long-term support for both paths. Our goal is to help you choose the most efficient, reliable, and ultimately, the most effective smart classroom solution for your institution.
Smart Classroom Setup: A Workflow Comparison

The first, and most immediate, difference between an integrated solution like Roombr and a DIY build is the smart classroom setup itself. It's a difference not just in time, but in complexity, expertise, and the potential for frustration.
Workflow 1: Roombr's Streamlined, "Plug-and-Play" Setup
Roombr is engineered around a core philosophy of simplicity. We design technology to be a tool for empowerment, helping people overcome challenges instead of creating new frustrations. This is evident from the moment the single box arrives.
✅ Step 1: Unbox & Mount:
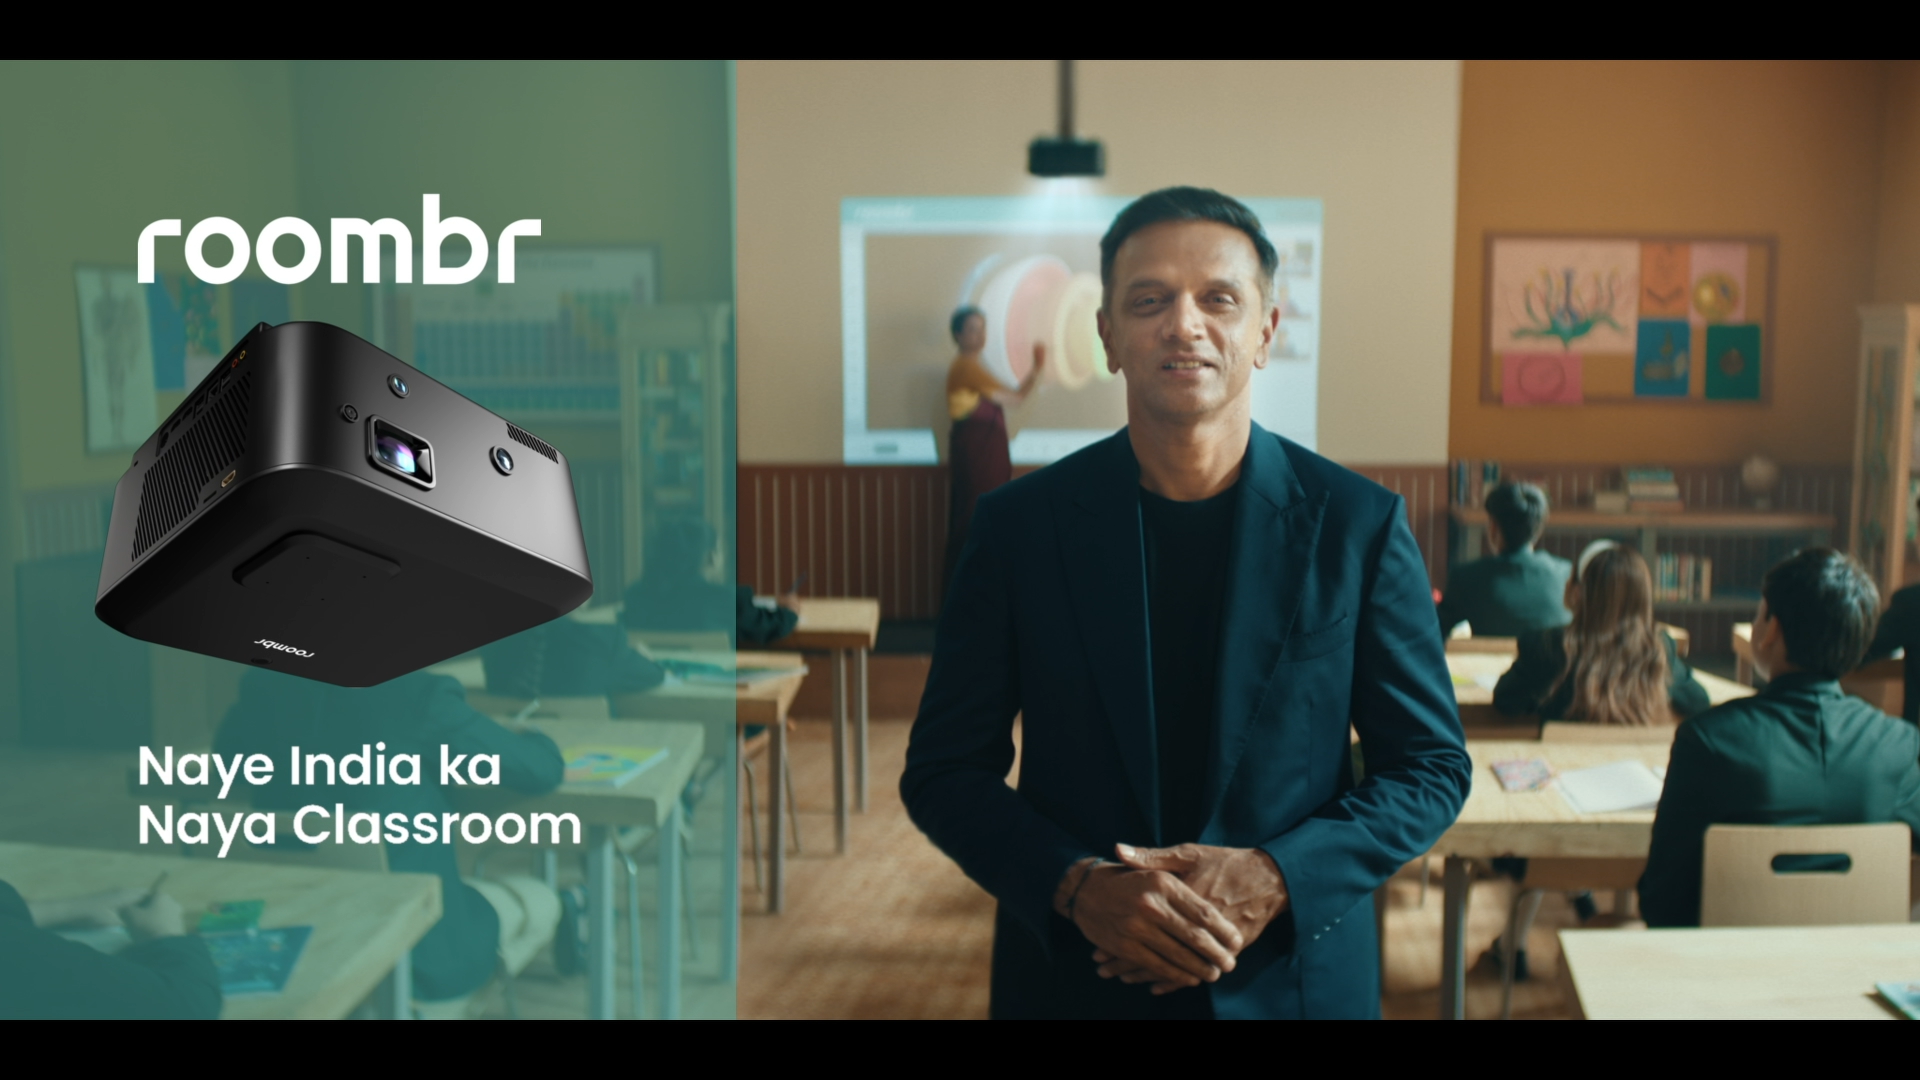
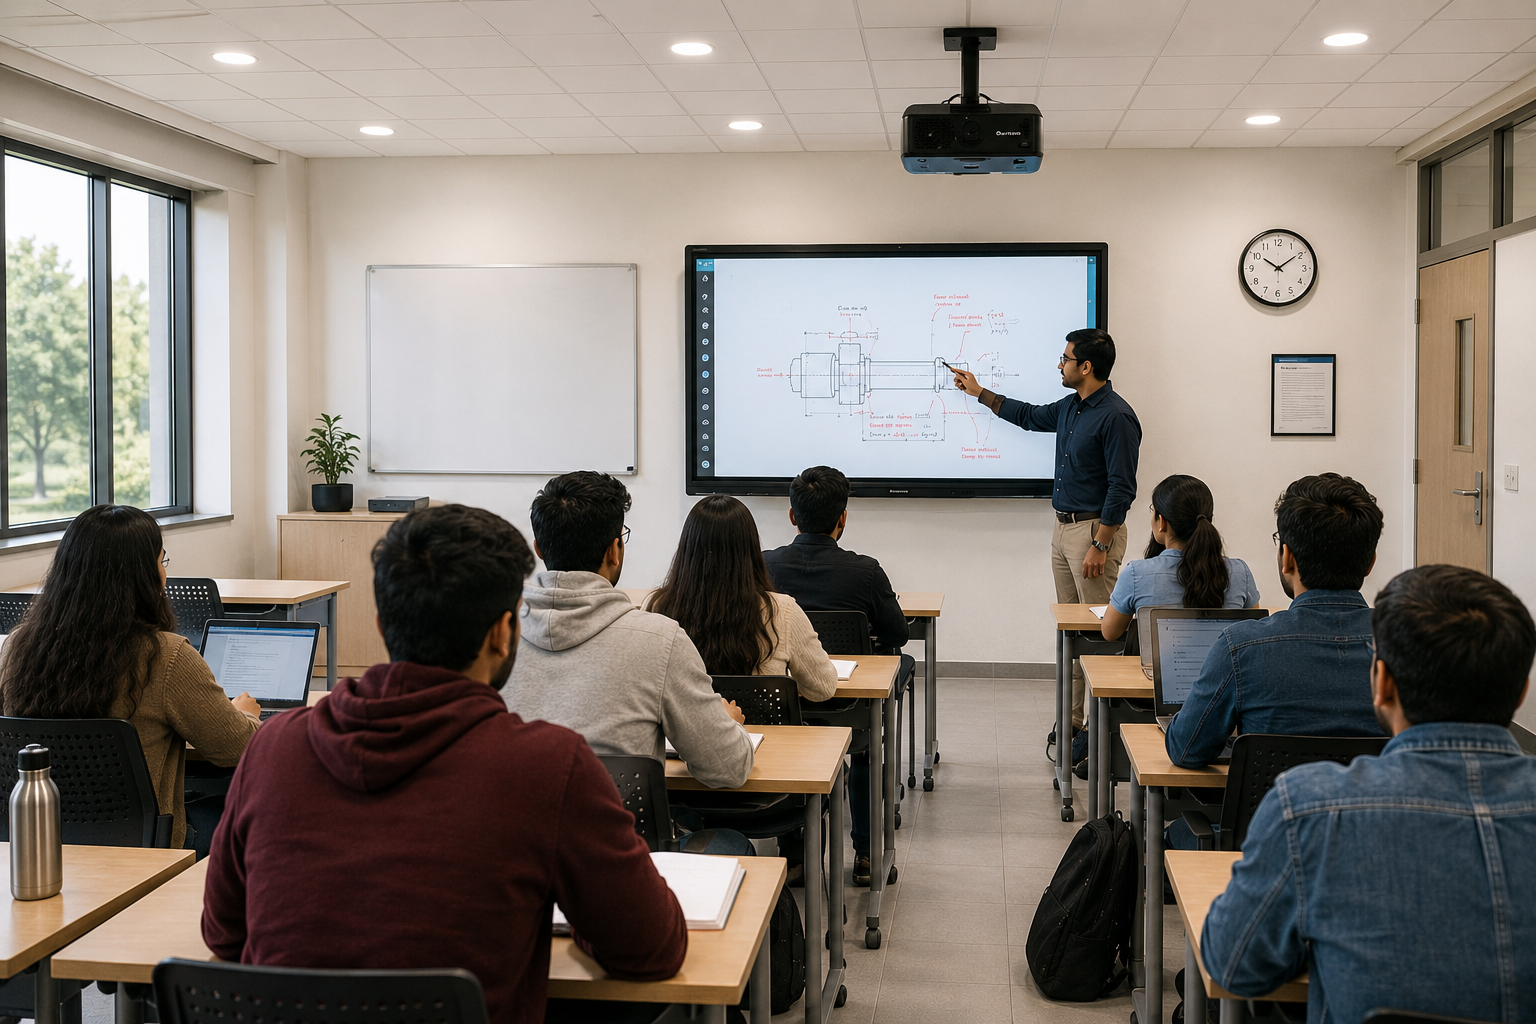
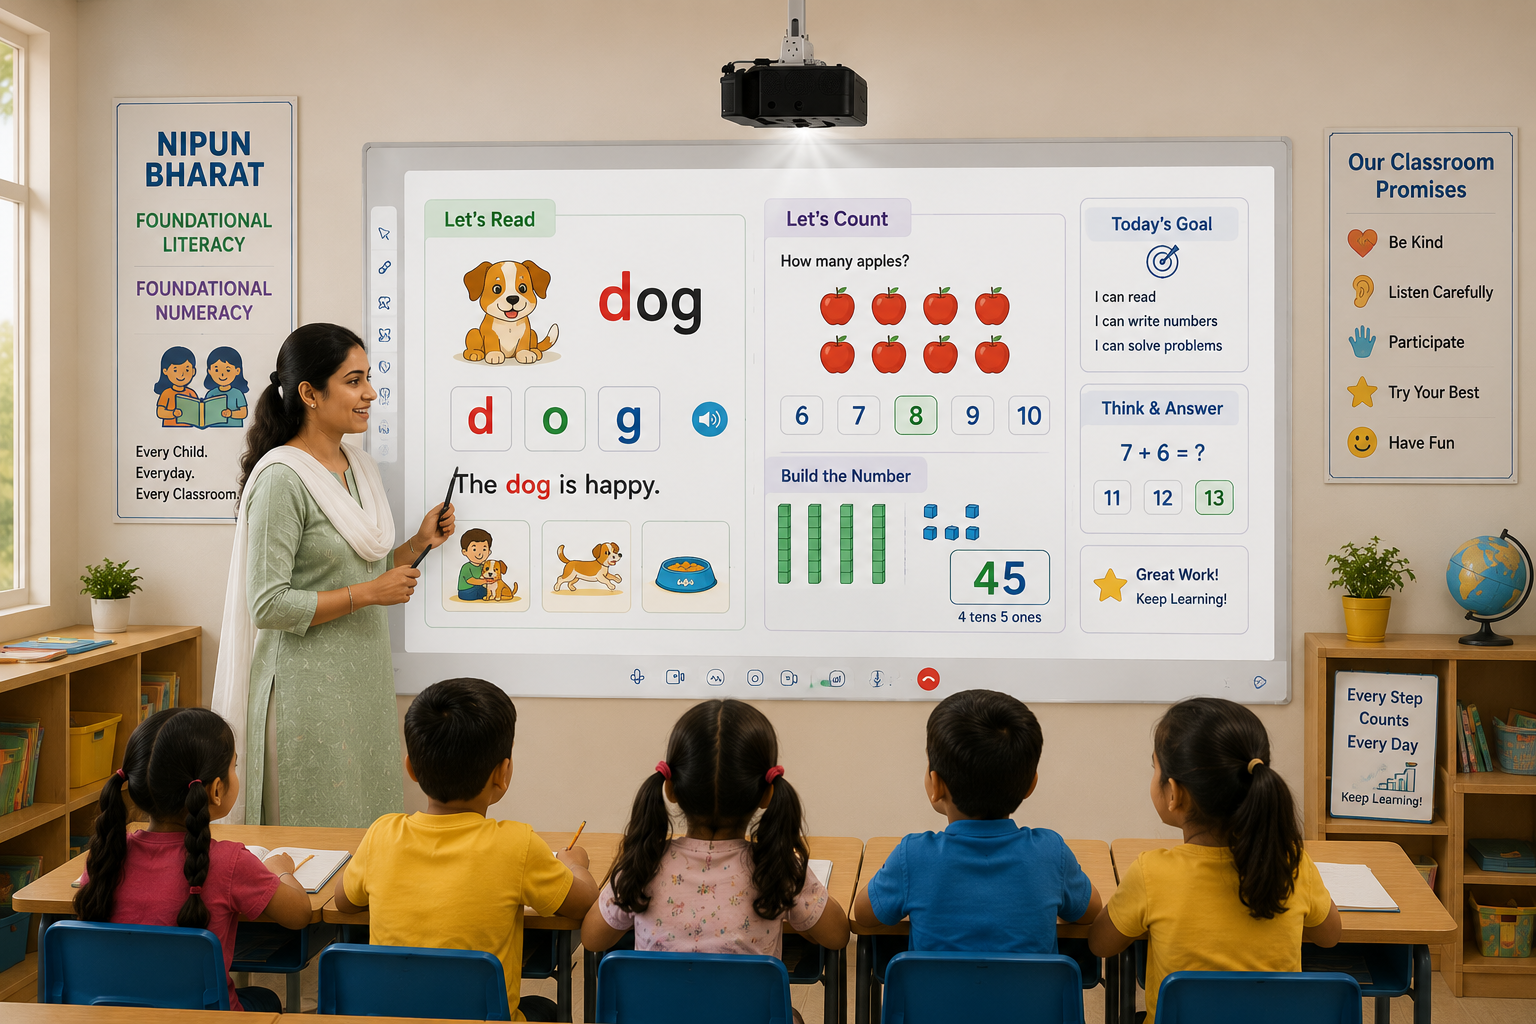
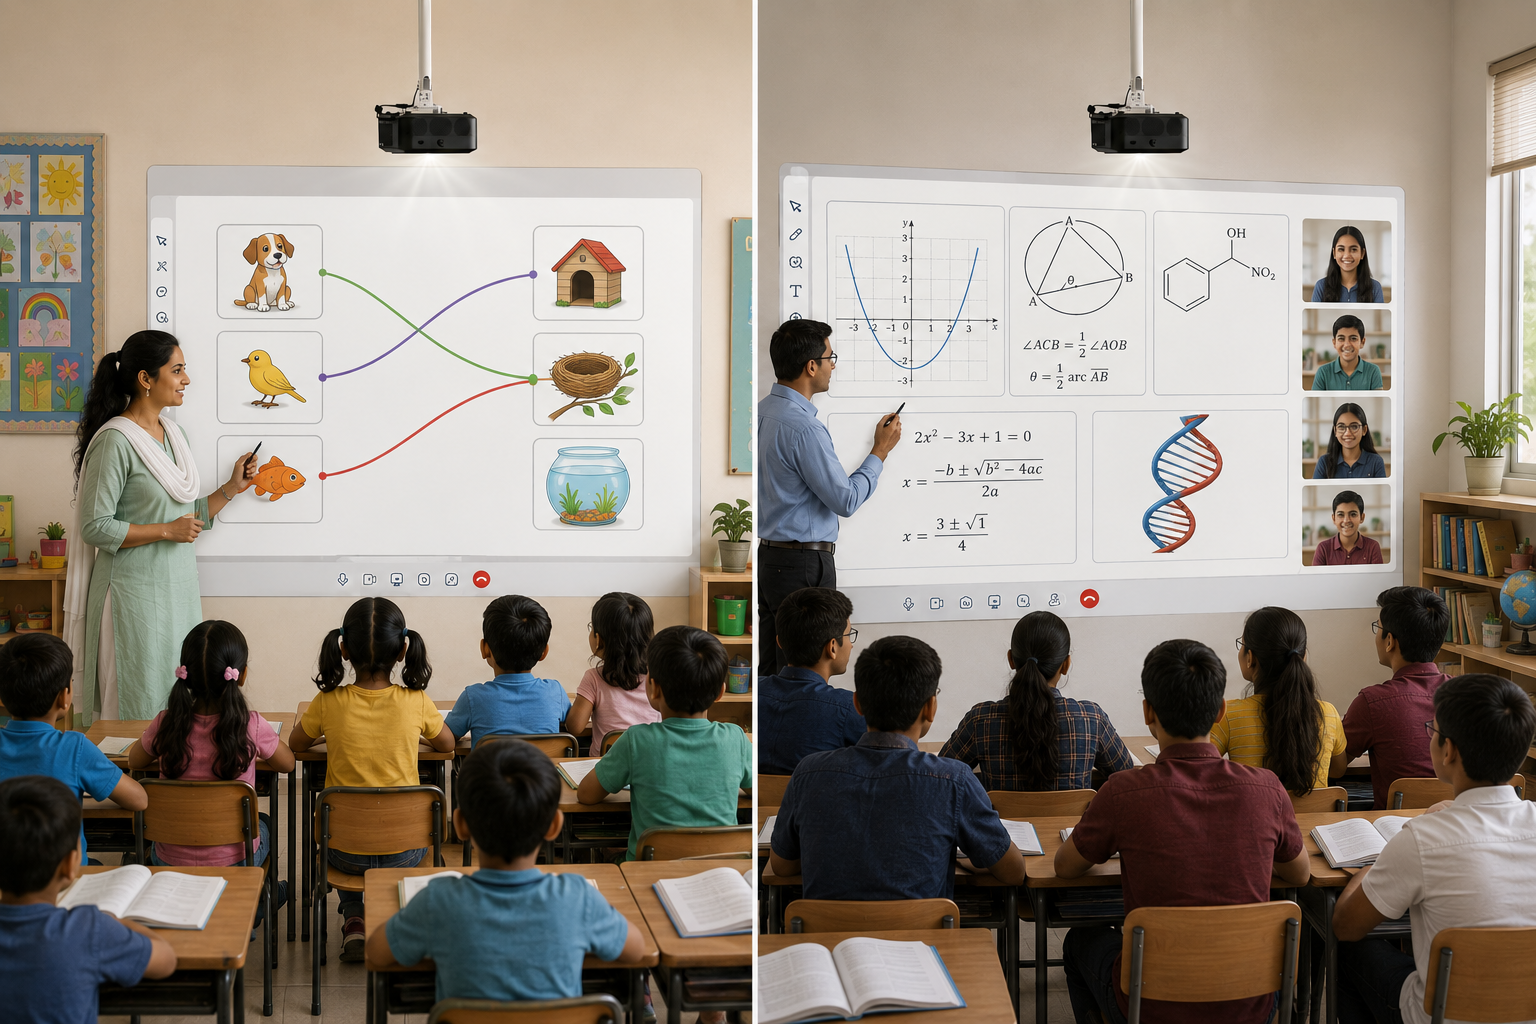
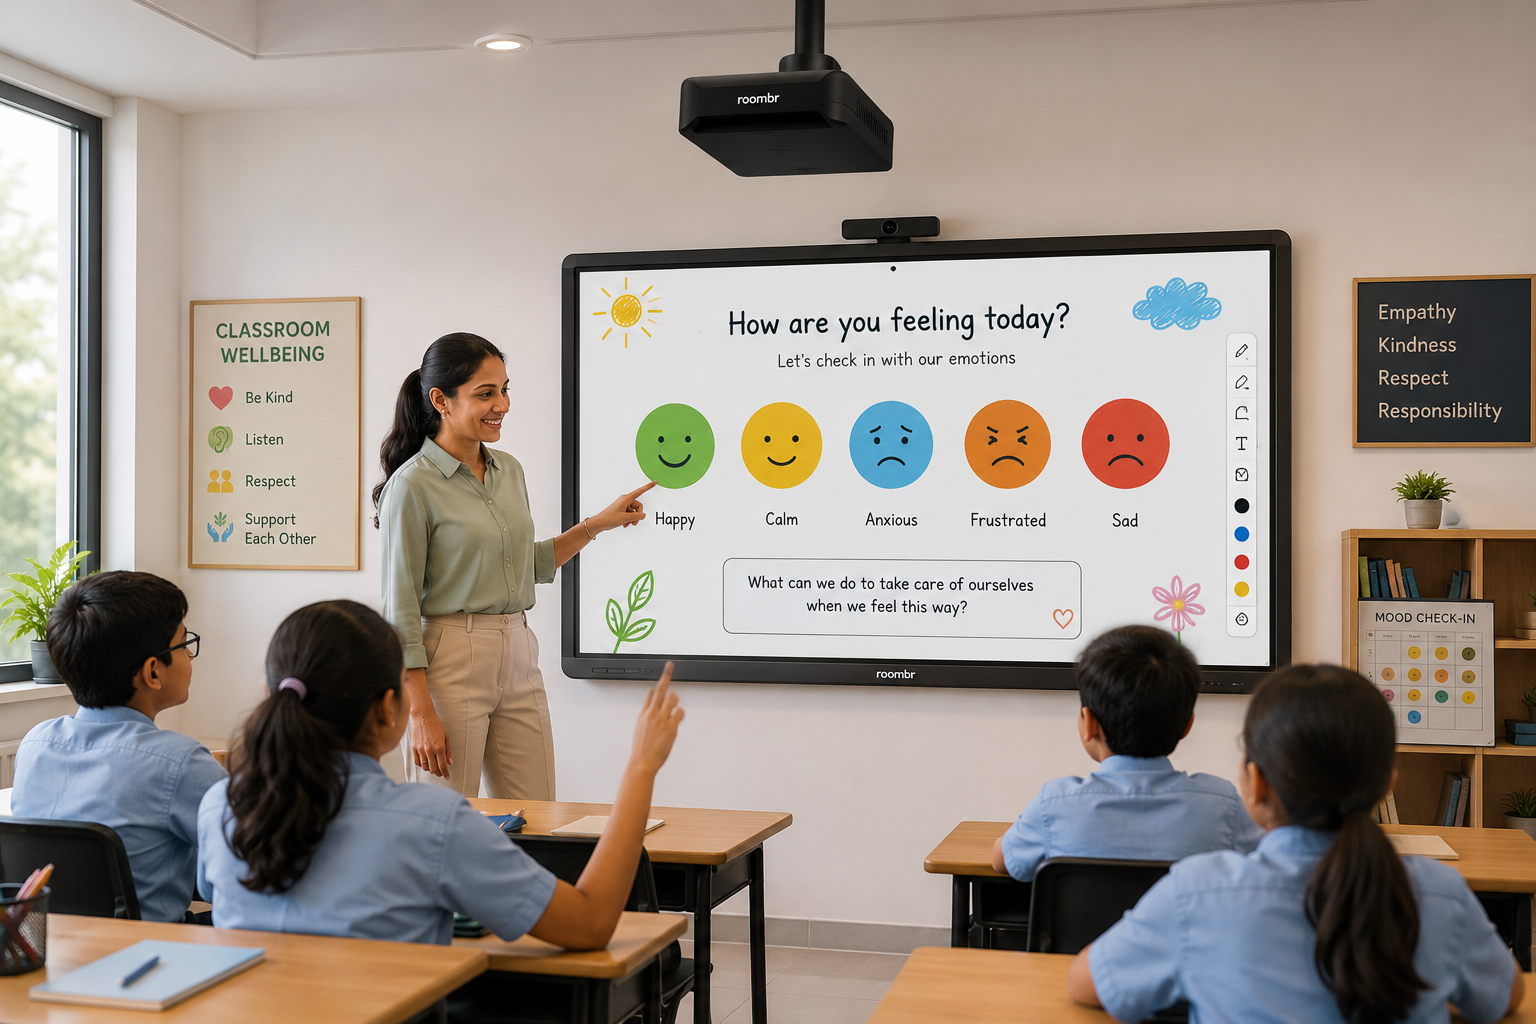
Inside one box is the complete Roombr unit—the world's first "Walltop Computer." This isn't just a screen; it’s a state-of-the-art interactive display, a powerful computing unit, integrated dual cameras, high-quality Harman speakers, and a sensitive microphone array, all in one device. With a simple mounting kit and a clear Quick Set-up Guide, the physical installation is straightforward.
✅ Step 2: Power On & Connect:
You plug in a single power cord. The system boots directly into its ready-to-use Windows 11 environment, powered by an Intel i7 or i5 processor. There are no drivers to hunt down, no software to install from scratch. You simply connect to your school's Wi-Fi.
✅ Step 3: Log In & Teach:
Sign in. That's it. Every tool, from the collaborative whiteboard to the lecture recording software, is pre-installed, pre-configured, and ready for the first lesson.
The Result: A simple, linear process designed for educators, not IT experts. It’s a true plug-and-play experience that transforms any wall into an interactive, collaborative learning space.
Workflow 2: The Multi-Stage, Technical DIY Setup
The DIY path begins not with one box, but with many. You're no longer just an educator or administrator; you're now a project manager, piecing together a technological puzzle with parts from different manufacturers.
⚠️ Step 1:
Procure & Unbox Multiple Components: Unpack the interactive panel from Brand A, the separate OPS computer from Brand B, the webcam from Brand C, and the external speakers from Brand D.
⚠️ Step 2:
Physical Assembly & Cable Chaos: Mount the heavy panel. Now, attempt to physically install the OPS unit, carefully checking pin compatibility and risking damage. Connect all the peripherals, creating a web of cables that need to be managed and secured.
⚠️ Step 3:
The Driver Hunt: This is the most notorious point of failure. After installing a base operating system, you must manually find, download, and install the correct drivers for the panel's specific touch functionality, audio, and graphics. An incorrect driver can render your expensive panel a non-interactive display.
⚠️ Step 4:
The Software Puzzle: Install your chosen whiteboard software, video conferencing app, and recording tools. Now, manage and activate each license key individually, keeping track of different subscriptions and renewal dates.
⚠️ Step 5:
Calibration & Testing: Manually calibrate the touch interface and conduct extensive testing to ensure all the disparate components are actually communicating with each other.
The Result: A complex, technical project with multiple points of failure. It demands significant time and technical expertise from your IT staff, pulling them away from other critical tasks.
The Price Tag vs. The Real Cost
A primary allure of the DIY approach is a perceived cost saving. You can pick and choose components that seem cheaper on paper. However, this rarely accounts for the Total Cost of Ownership (TCO), a critical metric for any institutional investment. The initial smart classroom price is only one part of the story.
Let's break down the hidden costs of the DIY approach compared to Roombr's transparent pricing.
The Support Nightmare: Who Do You Call?
Imagine this scenario six months after your DIY smart classroom setup is complete: the touch screen becomes unresponsive after a Windows update. Who do you call?
The panel manufacturer will blame the operating system. Microsoft will point to the manufacturer's driver. The OPS computer vendor will say their hardware is fine. This is the "vendor blame game," and your IT staff and teachers are caught in the middle with a non-functional classroom.
With Roombr smart classroom solution, there is one call to make. We take a holistic approach to our product. Our entire solution is BIS Certified and ISO Certified, meaning it has been rigorously tested as a complete system. Trust is the most important component we integrate into our device. Our support team is responsible for the entire experience—the hardware, the software, the whole solution. It's our panel, our computer, our software, and our responsibility to get you back to teaching.
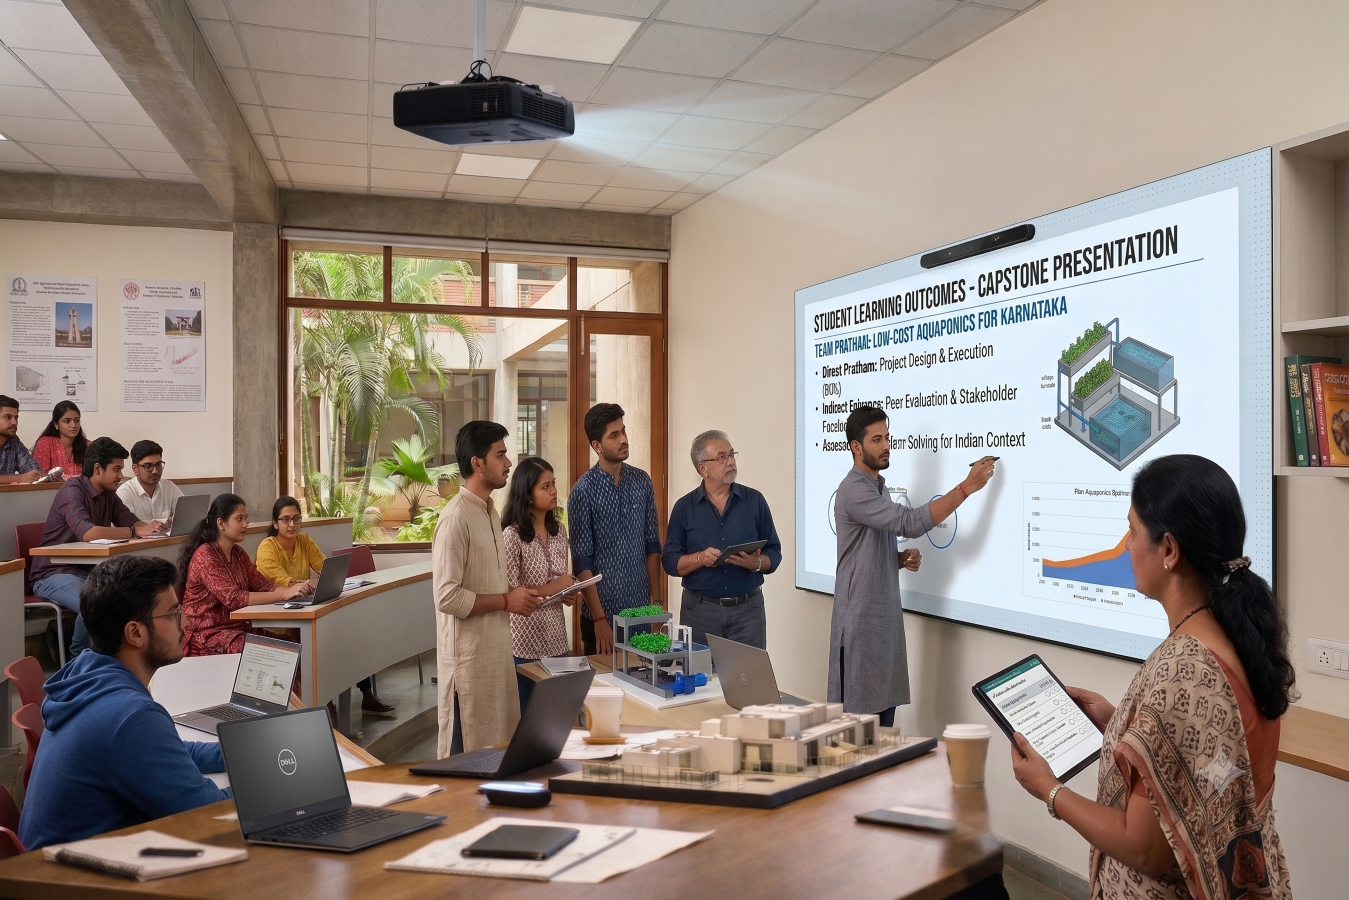
Beyond the Smart Classroom Setup: The Power of a True Ecosystem
The most profound difference emerges after the setup is complete. A DIY solution gives you a collection of parts; Roombr gives you a powerful, interconnected ecosystem.
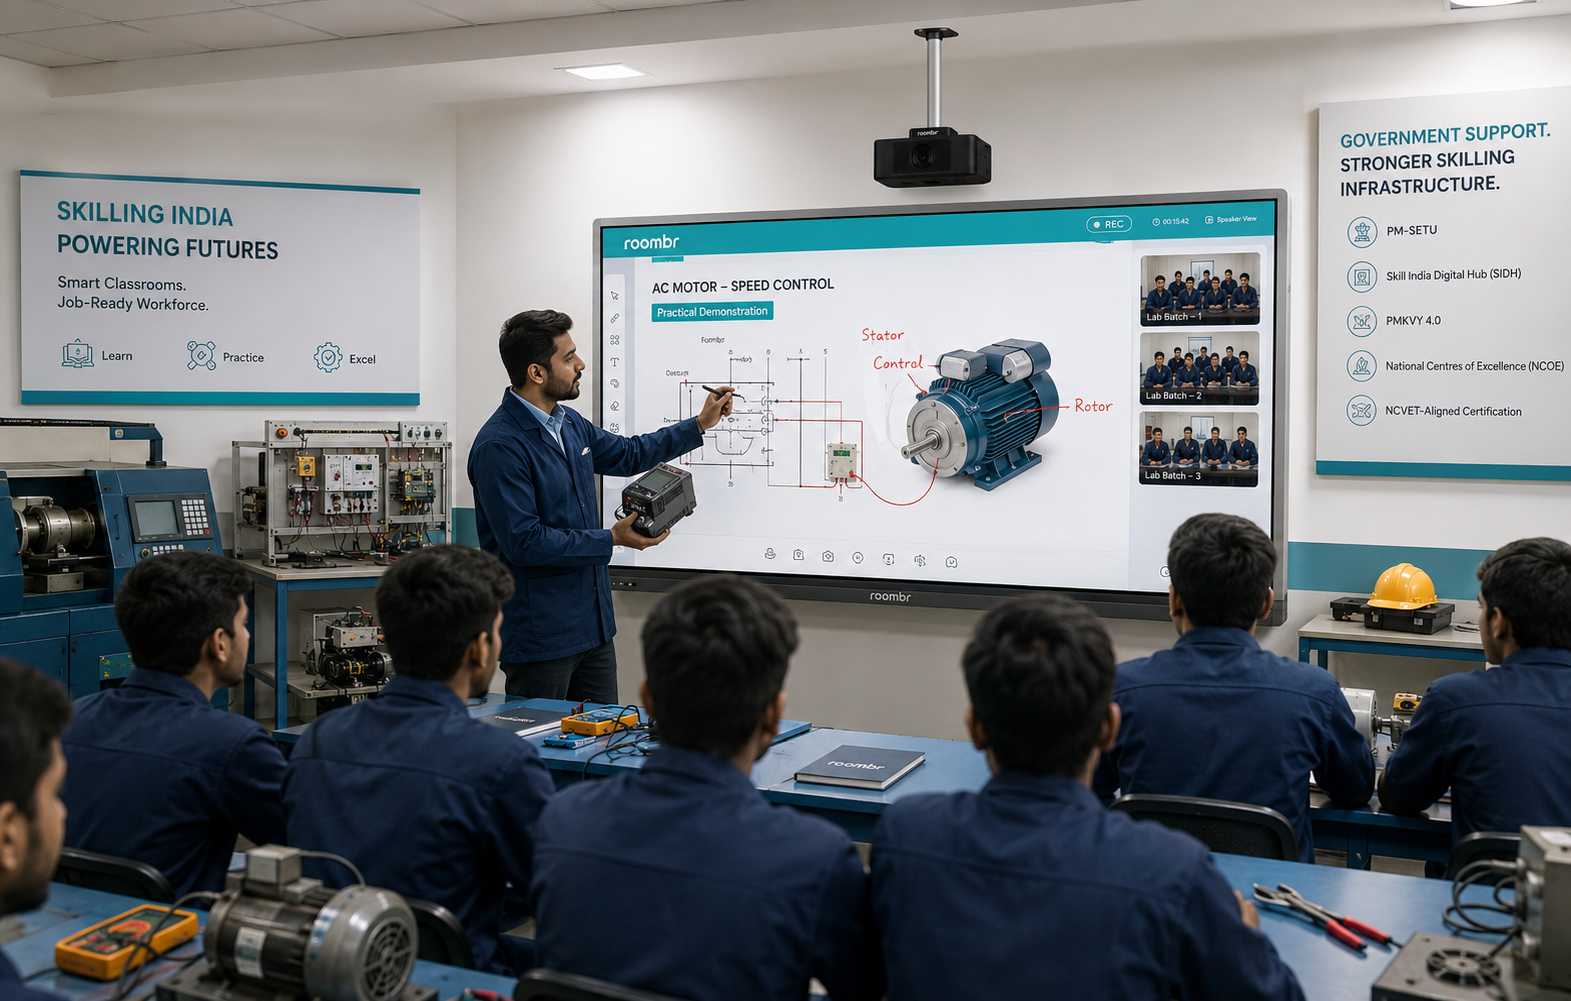
Because we designed the hardware and software to work in perfect harmony, Roombr unlocks capabilities that a pieced-together system can't match. The high-sensitivity MEMS microphone array with noise cancellation is optimized for our live session recording feature. The dual 8MP cameras are perfectly integrated with the Roombr App for immersive, life-like video conferencing.
This synergy allows us to deliver unique, powerful features:
- Record, Share, and Revisit: Teachers can record their live classes with a single click. These recordings are then easily shareable, allowing students to revisit complex topics as many times as they need—a cornerstone of remedial learning.
- AI-Enhanced and Interactive Content: Our platform offers AI-enabled editing features and allows teachers to attach tests and assignments directly to video lessons. This creates a dynamic feedback loop where teachers can track progress and students can identify and improve on their weak areas.
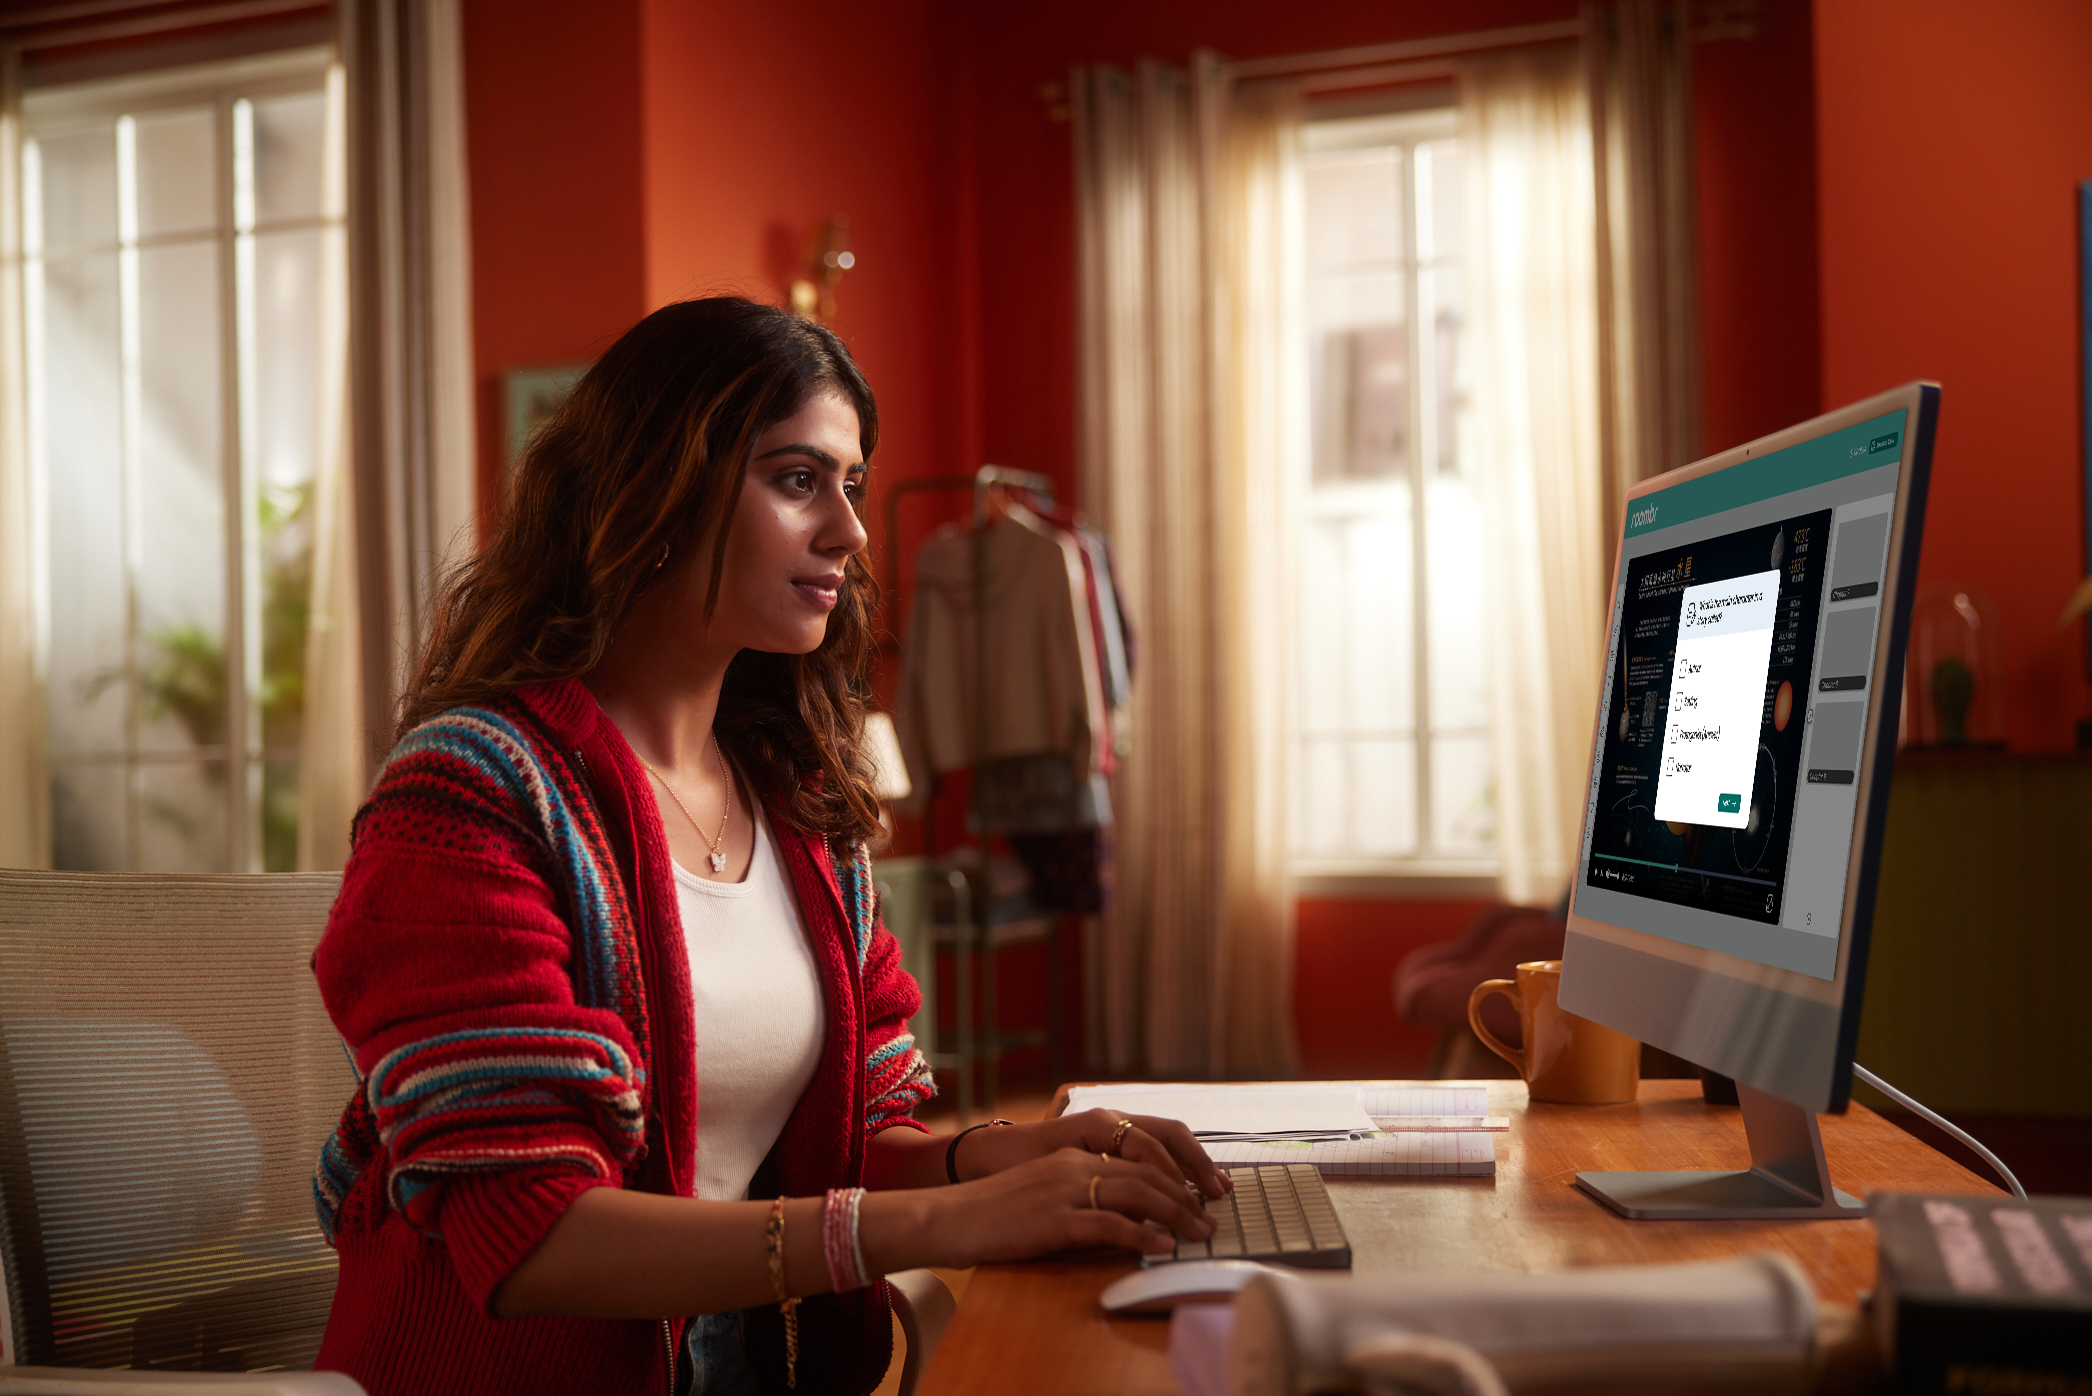
- Synchronous and Asynchronous Learning: The Roombr App allows for live, real-time collaboration on an infinite whiteboard. Learning doesn't stop when the class ends. Students and teachers can continue the discussion asynchronously through chat and sharing media, creating a persistent "Infinite Knowledge Space" that grows in value over time.
The Choice is Clear: Simplicity is the Smart Classroom Solution
Choosing your smart classroom solution comes down to a simple question: Do you want to buy a box of parts, or do you want to invest in a complete, reliable teaching platform?
The DIY path promises flexibility but often delivers complexity, hidden costs, and support headaches. It places the burden of integration and troubleshooting squarely on your institution.
Roombr is the result of years of expertise and a dream of bringing a seamless, collaborative learning experience to every classroom in India. It’s designed to empower teachers, not to test their IT skills. From the simple, streamlined setup and predictable cost to the unified support and powerful, integrated software ecosystem, Roombr removes the technological barriers. It allows your teachers to do what they do best: create the architects of our country's future.
Don't let a complex setup delay your school's digital transformation. Schedule a free, no-obligation demo today and see Roombr's simplicity in action. Alternatively, you can also contact us at +91 9686659444 or drop us an email at learn@roombr.com for any queries you may have. We will be happy to answer any questions.

Foziya Abuwala
Share
Step Into the future of
Education with Roombr