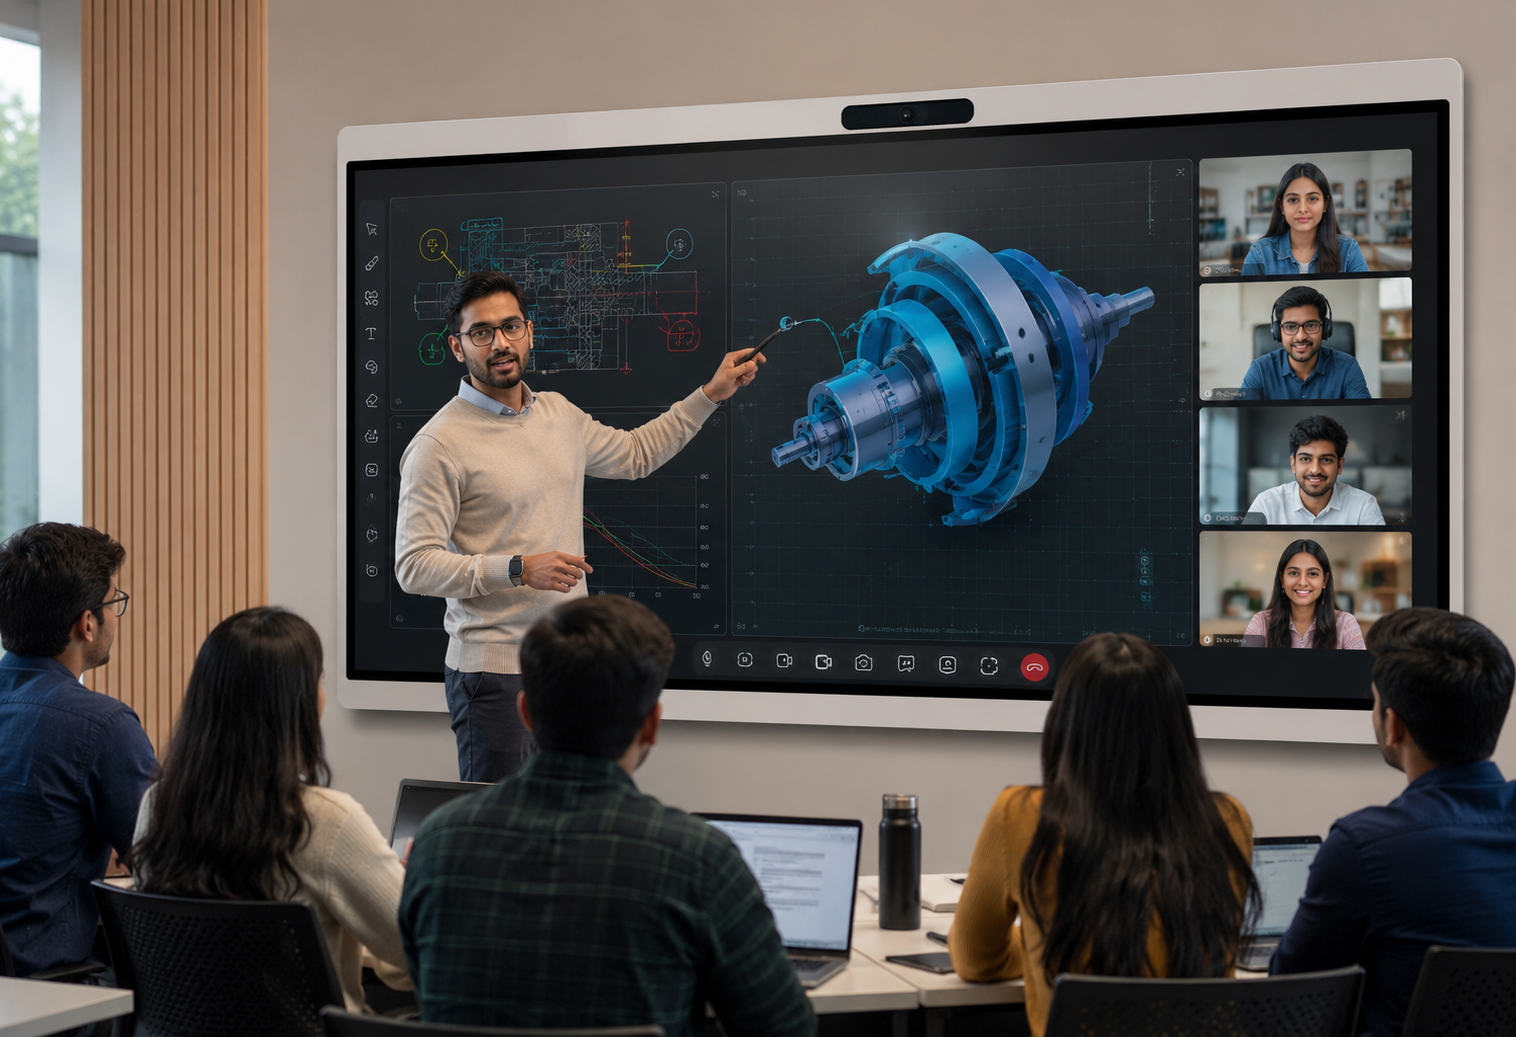

Modern college classrooms demand more than just whiteboards. Today’s students expect immersive, collaborative, and tech-enabled environments that enhance learning. Interactive boards with projectors are becoming the standard in higher education, but setting them up properly is crucial to get the most out of your investment.
This step-by-step guide helps higher education institutions plan and execute the installation of interactive board–projector combos with precision. Whether you're a university IT head, procurement lead, or faculty member overseeing smart classroom implementation, this article walks you through the process, materials, and best practices — no technical jargon, no fluff.
Why Interactive Boards with Projectors Are Essential in Colleges
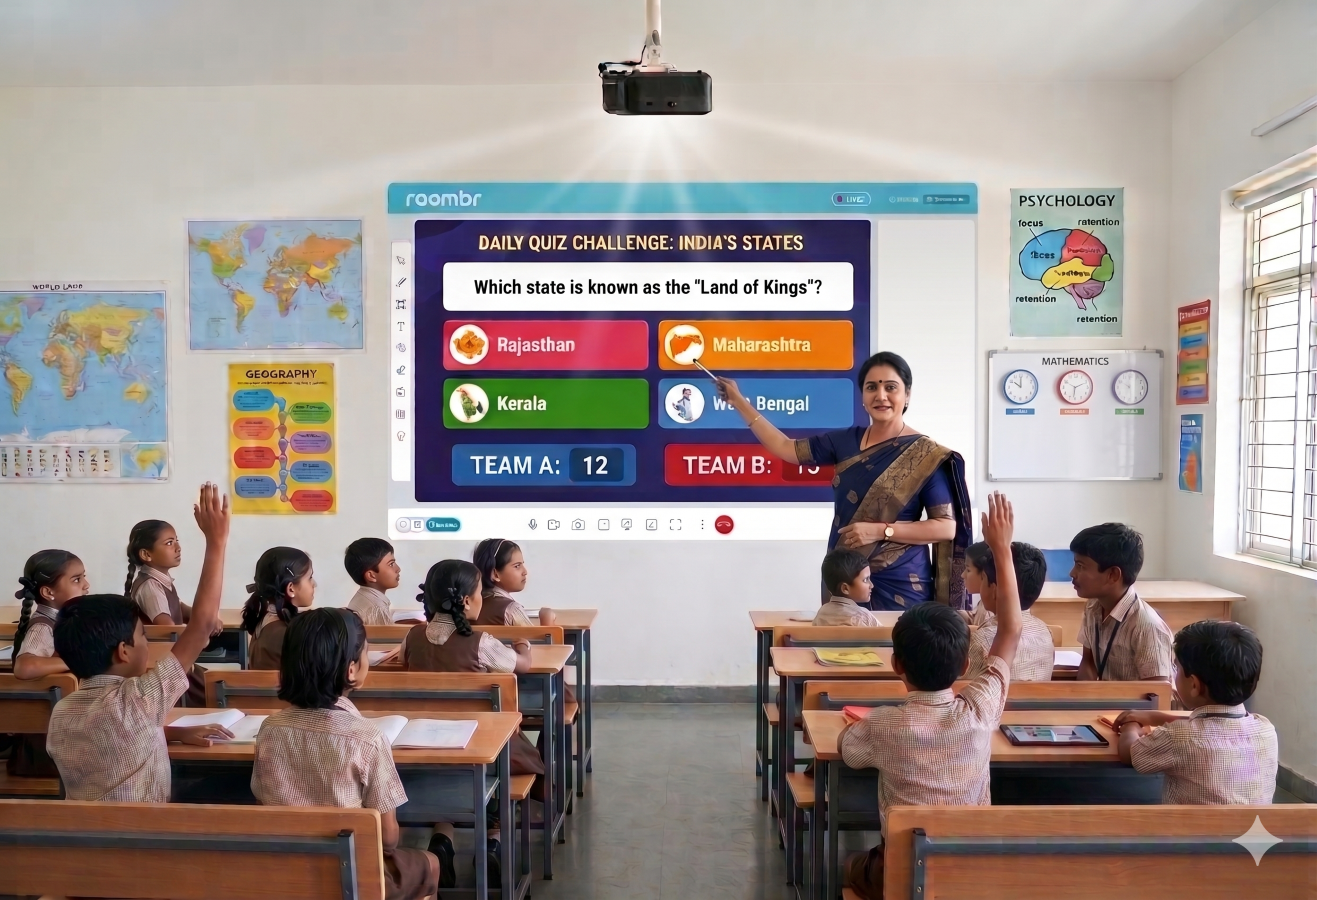
Interactive whiteboards paired with classroom projectors are not just for K-12 learning anymore. Colleges are increasingly adopting this technology to:
- Improve student engagement during lectures
- Enable multimedia teaching with visuals, simulations, and live annotations
- Support hybrid learning through content capture and replay
- Allow collaborative work and real-time interaction
These interactive boards for colleges work particularly well in large classrooms and lecture halls where visibility and interactivity must be scaled.
Pre-Installation Planning

1. Evaluate Your Lecture Hall
Before purchasing or installing any digital board, assess your lecture hall or classroom. Look for:
- Wall space: Is there a wide, unobstructed wall to mount the board and project?
- Lighting conditions: Can glare be minimized with blinds or controlled lighting?
- Viewing angles: Will students in the back row be able to see clearly?
- Electrical access: Are there nearby outlets and enough ports for power and connectivity?
Also consider ceiling height, acoustics, and cable routing possibilities for a clean, safe setup.
2. Choose the Right Interactive Board with Projector Combo
Key features to prioritize:
Make sure the setup is compatible with your college’s operating system (OS) and networking environment.
3. Gather Tools & Equipment
Here’s a checklist of what you’ll typically need to install an interactive board with a projector:
- Mounting brackets (wall and/or ceiling)
- Drill and screwdriver set
- Stud finder
- Spirit level
- Measuring tape
- Power cables and adapters
- HDMI and USB cables
- Ethernet cables (if applicable)
- Interactive pens or styluses (if supported)
- Projector ceiling mount (if needed)
- Installation guide/manual from the manufacturer
Step-by-Step Installation Process for Interactive Board with Projector
Step 1: Mounting the Interactive Board
- Determine board height: Ideally, the bottom should be around 4 feet from the floor — low enough for user access, high enough for rear visibility.
- Mark the mounting points using a level to ensure a perfectly horizontal setup.
- Drill anchor holes into wall studs (use a stud finder for safety).
- Install the mounting brackets using heavy-duty screws.
- Mount the board securely and double-check alignment.
✅ Tip: For glass or concrete walls, use wall plugs or heavy-duty anchors rated for the digital board’s weight.
Step 2: Installing the Projector
If your interactive whiteboard setup uses a projector, follow these steps:
- Choose a ceiling or wall mount position aligned with the board’s center.
- Adjust distance to match the projector’s throw ratio (e.g., 0.8 TR means you need to mount it closer to the board).
- Mount the projector using a dedicated ceiling bracket. Secure all screws tightly.
- Connect the power cable and ensure proper ventilation around the projector.
- Align the projected image with the board’s borders by adjusting zoom and focus settings.
Calibration will be handled later in the software phase, so just ensure rough alignment now.
Step 3: Powering the Setup
- Plug the interactive board into a surge-protected power outlet
- Connect the projector to the same power source if possible, to avoid circuit overload
- Use cable organizers to route wires neatly and prevent tripping hazards
Connecting the Devices
Now, it’s time to make the hardware talk.
- Connect your PC or laptop to the interactive board using HDMI (for display) and USB (for touch input).
- Connect the projector to the same PC (either duplicate or extend display mode).
- If using an all-in-one system, follow the onboard setup instructions from the manufacturer’s manual.
- Connect to the internet via Ethernet or Wi-Fi for remote access, app updates, and content sharing.
If the system includes audio input/output ports, plug in external speakers or microphones accordingly.
Software Installation & Calibration
1. Install Necessary Drivers and Tools
Your interactive whiteboard likely requires:
- Driver software for touch calibration
- Annotation or whiteboard apps
- Screen recording or lecture capture tools
- Integration plugins for LMS (like Moodle or Google Classroom)
Follow the manufacturer’s setup manual for your OS.
2. Calibrate the Digital Board
- Use the included stylus or finger to tap calibration targets on-screen
- Ensure touch accuracy across the board surface
- Adjust screen resolution, contrast, and brightness as needed for clarity
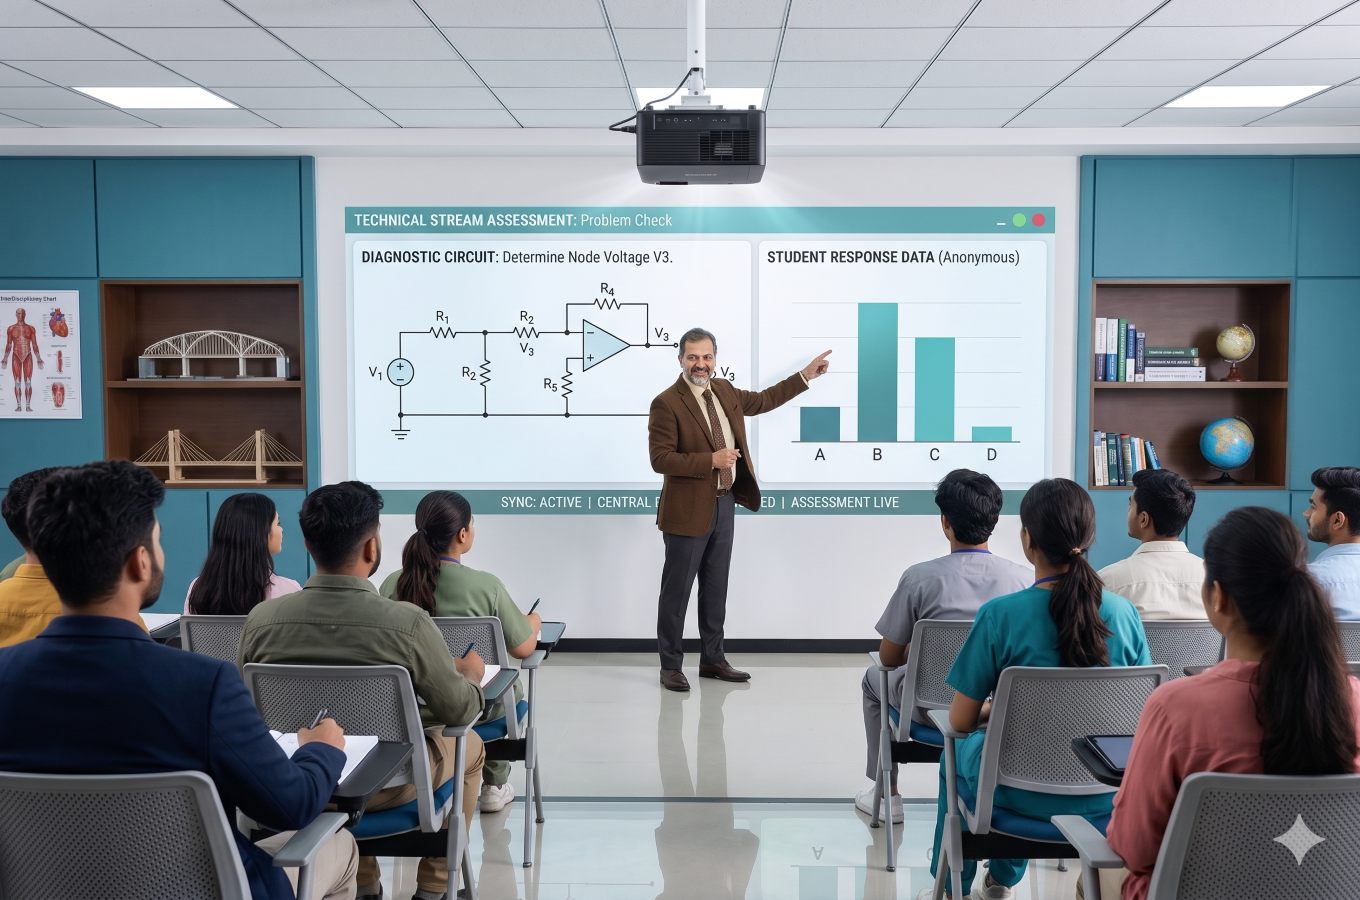
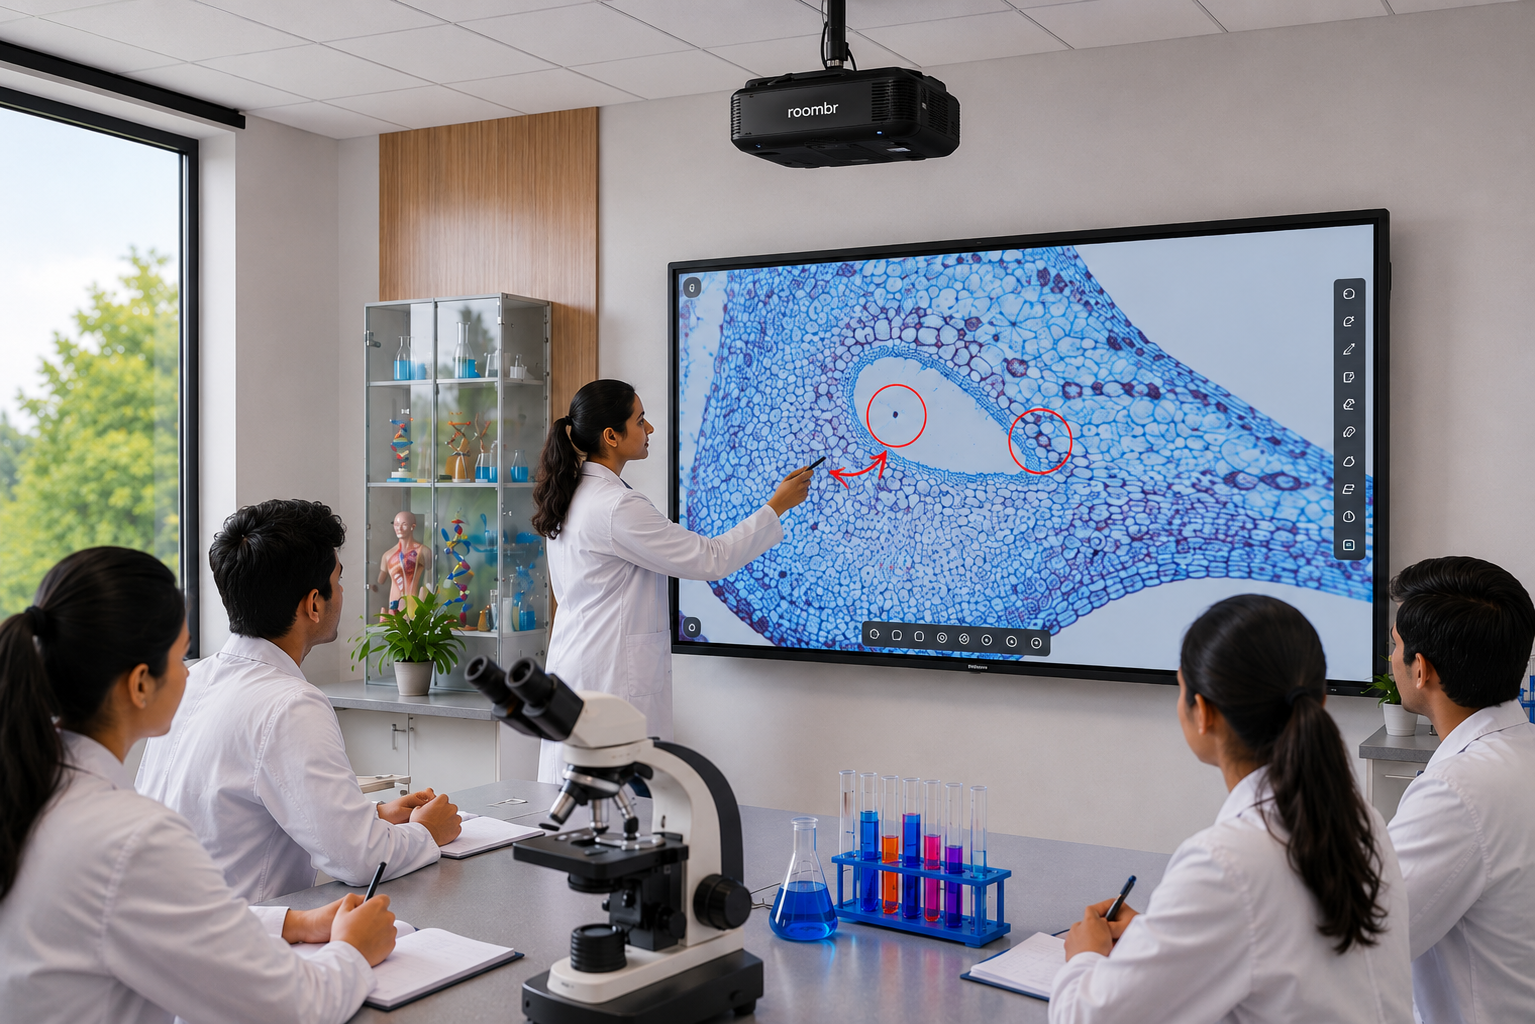
3. Test Interactive Functions
Open applications like Microsoft Whiteboard, PowerPoint, or Google Jamboard to test:
- Drawing and writing
- Multi-touch gestures (zoom, scroll)
- Media playback with projector audio
- Live screen capture or annotation features
Testing the Setup
Before announcing your smart classroom is "ready for tech-enabled learning," run full tests:
- Test with live video lectures, screen recording, and audio clarity
- Check network connectivity and wireless performance
- Run a mock class session to test transitions between board annotations and presentation slides
Also, validate integration with classroom tools like:
- Document cameras
- Wireless clickers
- External microphones
Maintenance and Best Practices for Interactive Board with Projectors
Daily Use Tips:
- Calibrate the board weekly
- Clean with non-abrasive microfiber cloths (avoid alcohol-based sprays)
- Shut down or unplug when not in use to prolong the lifespan
Preventive Maintenance:
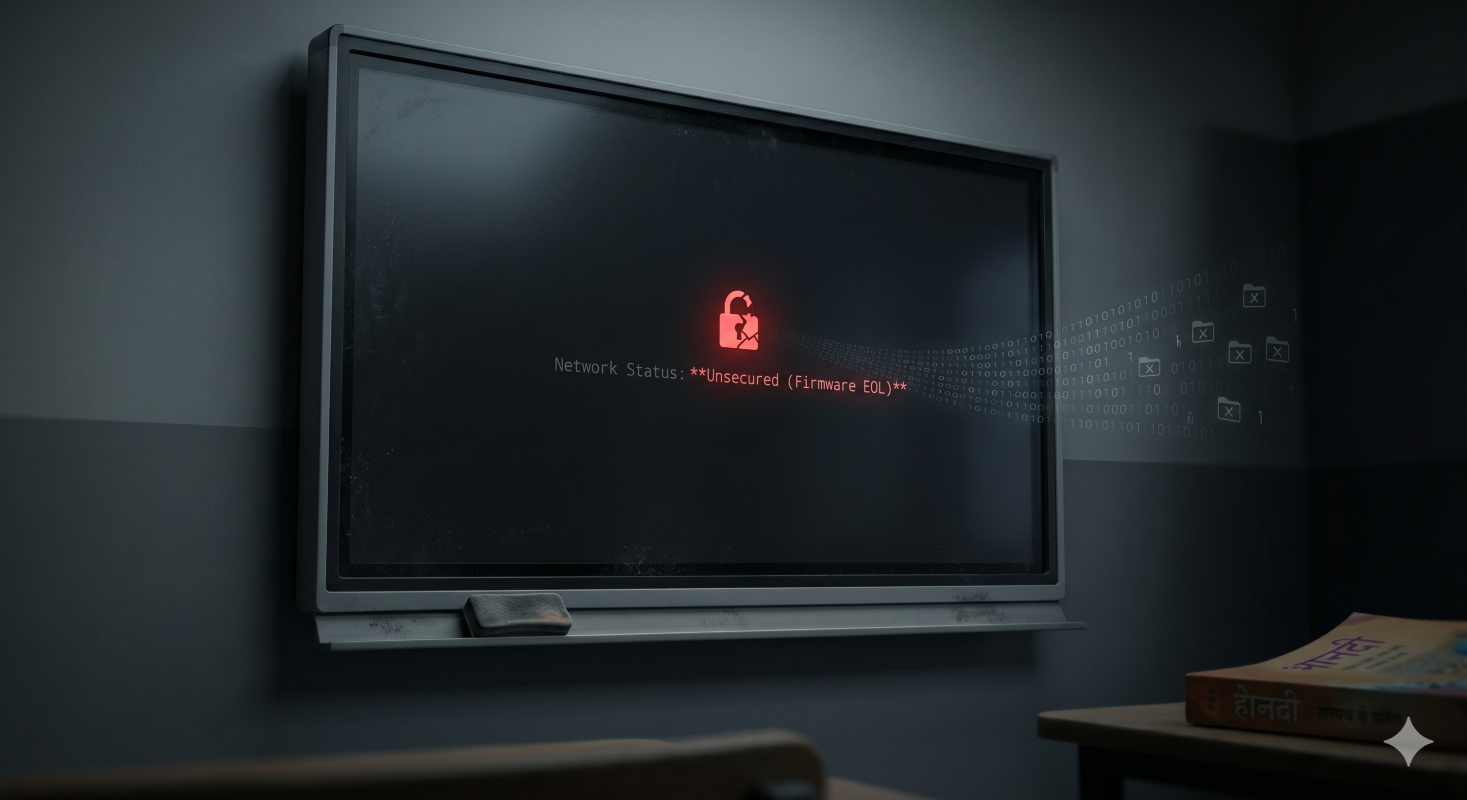
- Check for overheating in projectors or CPU units
- Ensure all firmware and software are up to date
- Test ports (USB, HDMI, etc.) periodically to ensure no physical damage
What Sets College Installations Apart from School Setups?
Final Thoughts
Installing an interactive board with a projector in a college classroom is a highly rewarding upgrade when done correctly. This setup enhances classroom engagement, simplifies content sharing, and aligns with modern pedagogical demands.
Following this comprehensive installation guide ensures you avoid common mistakes like poor alignment, loose connectivity, or underpowered projection. It also allows educators to focus more on content delivery and less on tech glitches.
Answers to Commonly Asked Questions
1. How high should an interactive board be mounted in a college lecture hall?
In college lecture halls, the interactive board should ideally be mounted so the bottom edge is about 4 to 4.5 feet from the floor. This ensures visibility for students in the back while keeping the board accessible to presenters. The height may need adjustment based on room elevation and seating tier.
2. Can a projector be used with an interactive whiteboard without shadows?
Yes, by using a short-throw or ultra-short-throw projector, you can eliminate shadows that appear when presenters stand near the digital board. These classroom projectors are typically mounted just above or below the board and project at a steep angle, minimizing obstruction and improving clarity.
3. Do interactive board projectors need a separate power source?
Usually, yes. Projectors require their power outlet, separate from the board. For a clean installation, institutions should plan for dedicated electrical points near the ceiling or mounting area to avoid cable clutter and ensure stable operation.
4. What software is required to run a digital board in colleges?
Most interactive boards with projectors work best with software for touch calibration, annotation, and screen sharing. Colleges should also install compatible tools that integrate with LMS platforms like Moodle or Google Classroom. Ensure drivers are installed, and update them regularly for smooth performance.
5. Is Wi-Fi enough, or should the interactive board be connected via Ethernet?
While Wi-Fi is convenient, Ethernet is more stable in high-traffic college networks. For streaming lectures, recording classes, or using cloud apps, a wired connection ensures low latency and prevents lag, especially during live sessions or hybrid learning.
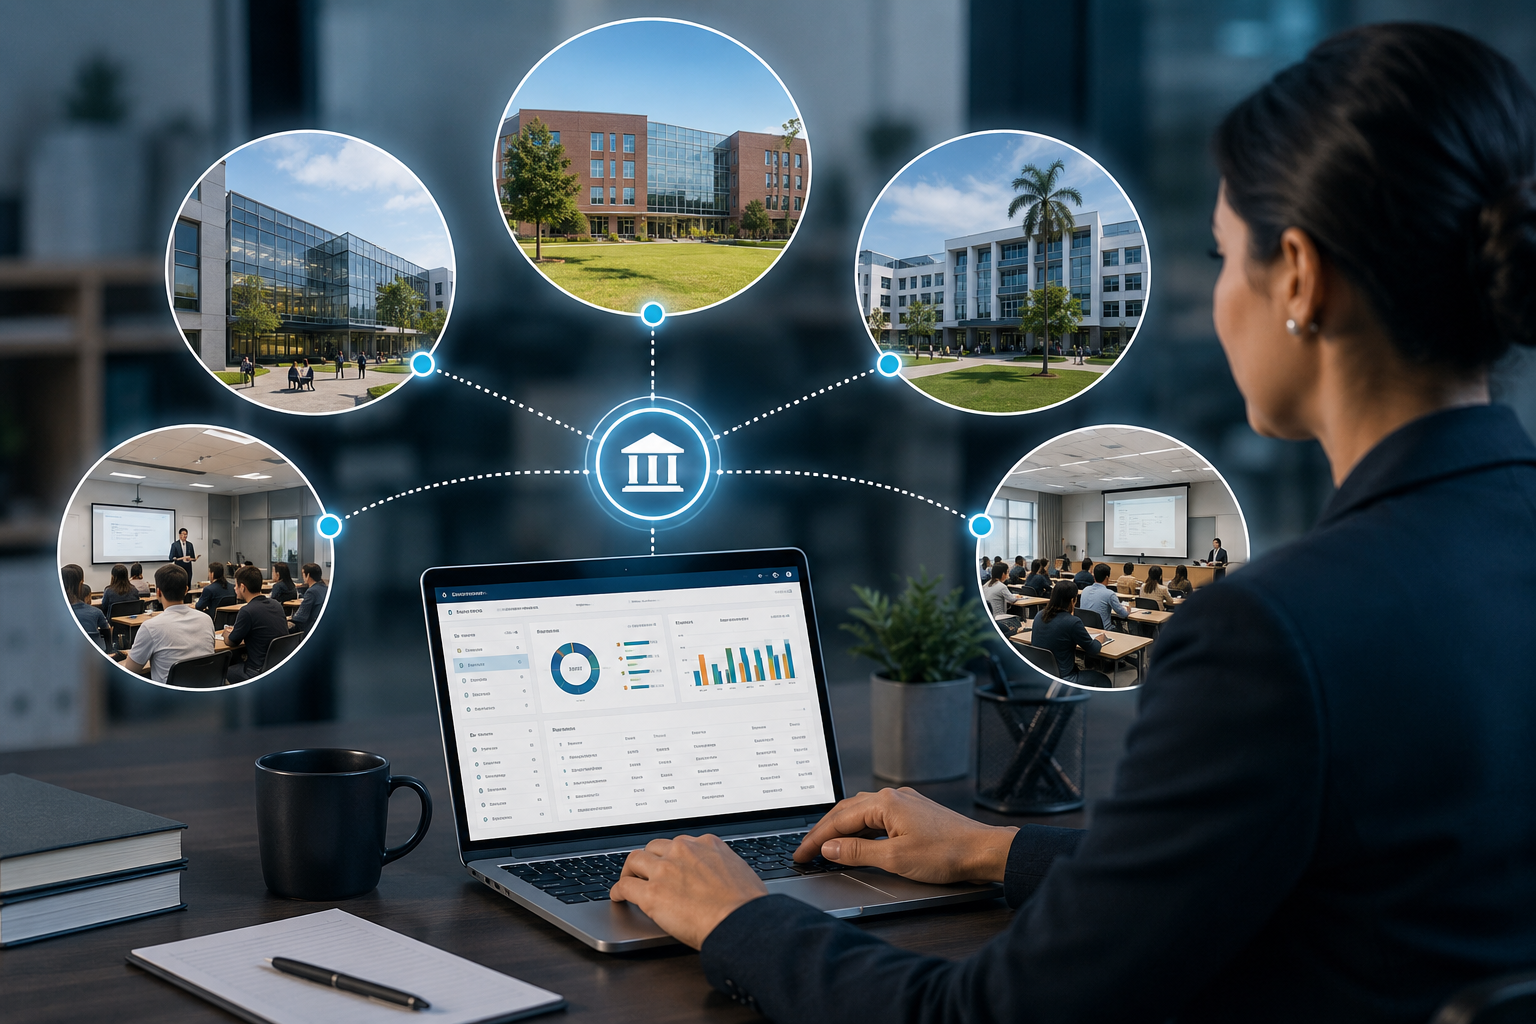
6. Can multiple classrooms in a college use the same interactive whiteboard model?
Yes, in fact, standardizing hardware across classrooms helps reduce technical issues and simplifies training for faculty. Ensure the chosen model supports your infrastructure (connectivity, mounting, space) and offers scalable features like multi-user collaboration and device compatibility.
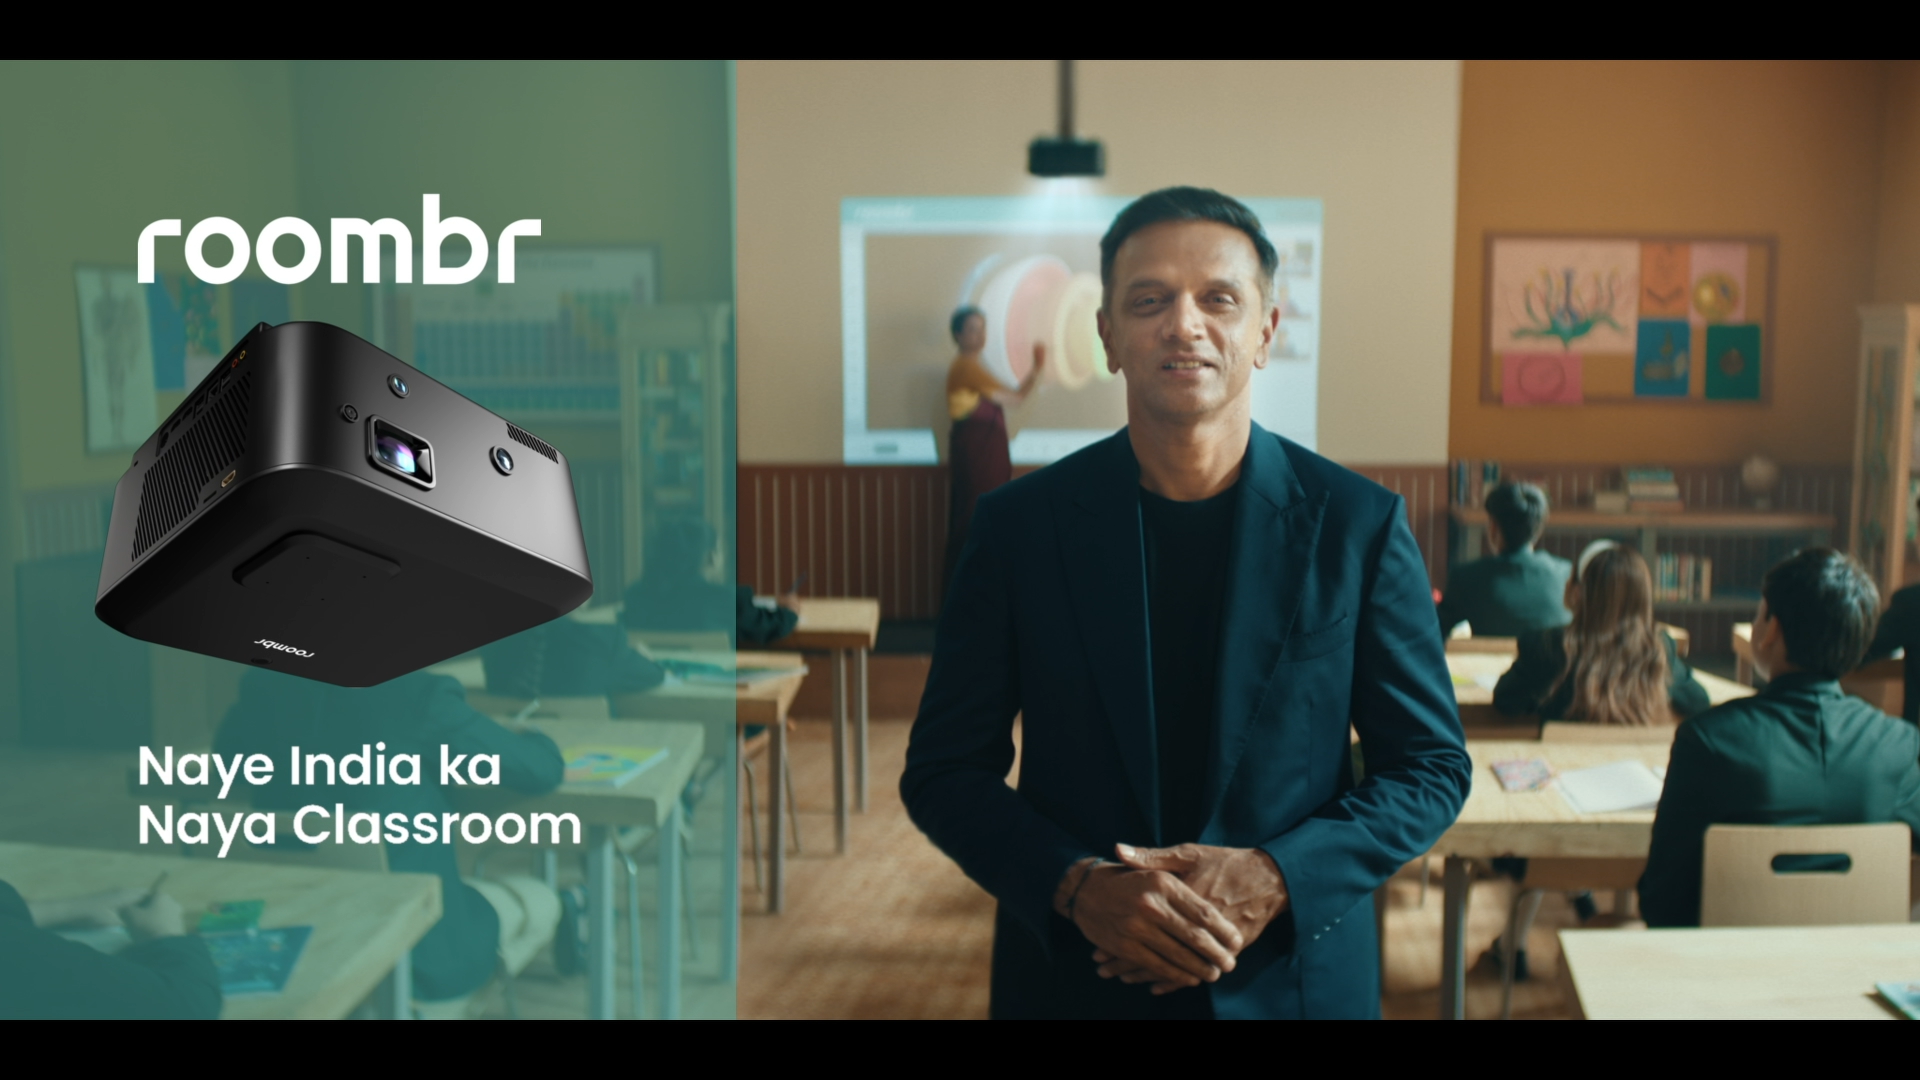
Get the Best Interactive Board with Projector for Your Classroom
Roombr’s patented all-in-one smart classroom solution is built for Indian classrooms and designed to be as easy as plug and play. From unboxing to going live, our expert team ensures a smooth installation with hands-on setup support and reliable after-sales service.
Whether you’re digitizing one room or scaling across your campus, Roombr’s interactive board with projector comes fully equipped with powerful hardware and integrated software to make teaching smarter and simpler.
Let us take care of the tech, so you can focus on teaching. Book your free smart classroom consultation today.

Foziya Abuwala
Share
Step Into the future of
Education with Roombr


.jpg)