
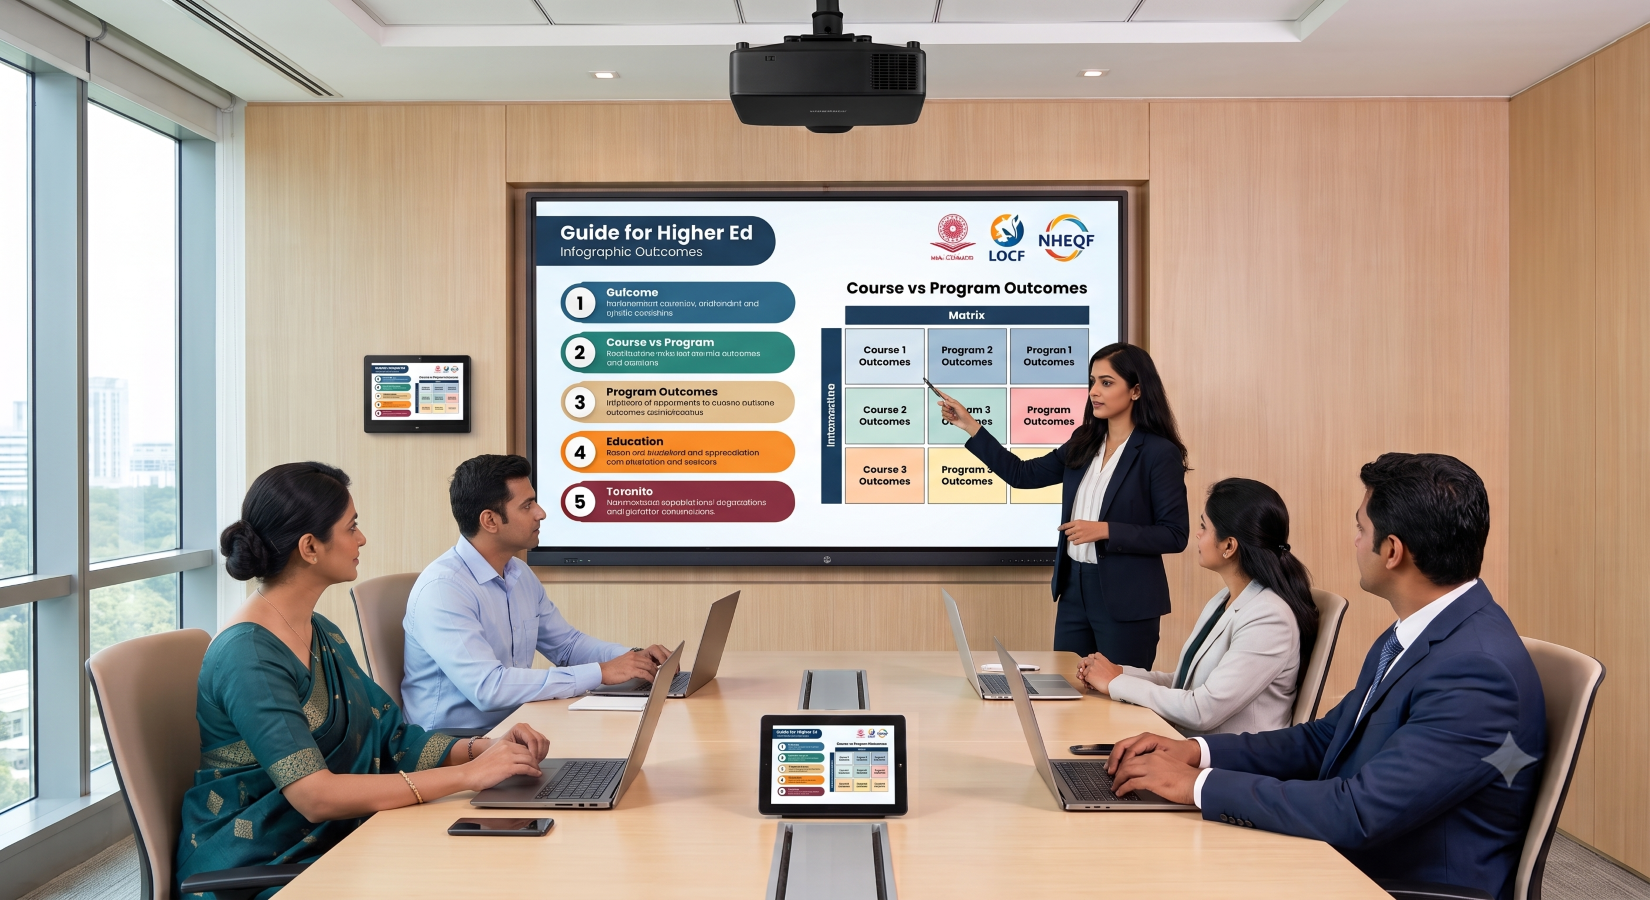
Educators in schools and colleges are always looking to invest in a state-of-the-art digital classroom setup with proper planning and budgeting. The focus is on purchasing hardware, software and other necessary accessories that enhance the learning experience. However, a common factor that is often overlooked is the physical smart classroom design. This includes the layout and acoustics of the room and the placement of furniture. As a leading digital classroom solution provider, we have found out that this could be one of the most costly mistakes an educational institution can make.
Below is your guide to the three most-overlooked elements of a successful smart classroom setup: layout, furniture, and the physical sound environment.
Layout, Furniture, and Sound in a Smart Classroom Design
1. Layout: How to Arrange Your Room for Active Learning
For decades, classroom layout was simple: rows of desks facing a blackboard. This design was perfect for passive, "chalk-and-talk" instruction.
Your new smart classroom setup is built for active, collaborative, and hybrid learning. Your old layout is now working against your technology. Your physical layout must be driven by your pedagogy.
The "U-Shape" for Hybrid-Ready Classrooms
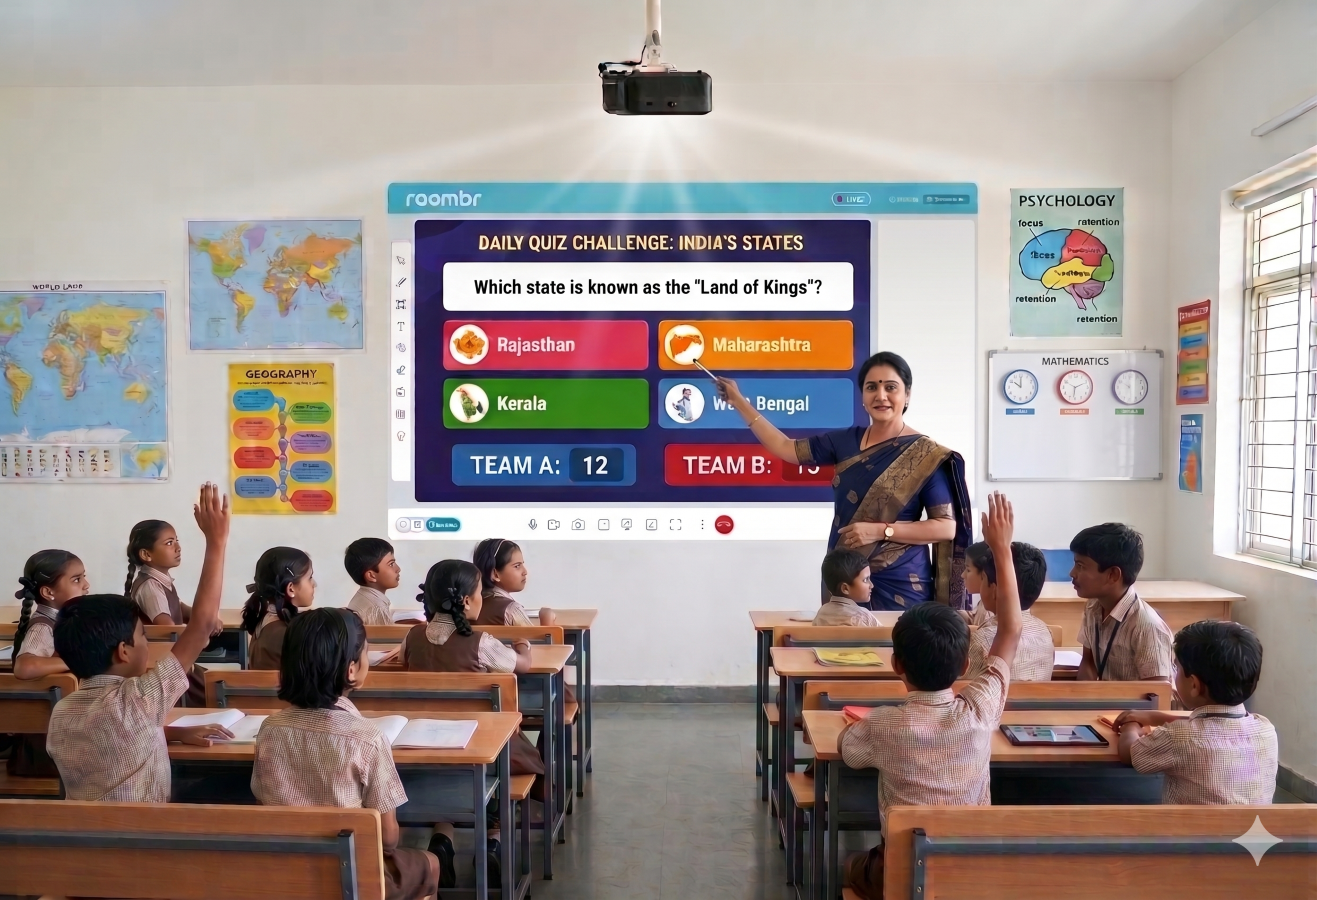
This is the new standard for any hybrid or HyFlex environment. By arranging desks in a large "U" shape, every student faces both the interactive panel and the rest of the class.
- Why it works: This layout is a game-changer for your technology.
- AI Camera: An AI-tracking camera placed at the front can see every student's face, making remote learners feel like they are part of a single, unified discussion.
- Inclusion: No student is "in the back." This layout dramatically boosts engagement and discussion for both in-person and remote learners.
"Learning Pods" for True Collaboration

Forget rows. Arrange desks in small clusters (pods) of 4-5 students. This layout is the foundation of a collaborative classroom.
- Why it works: Instead of a single "front" of the room, you create multiple mini-learning hubs. This is a perfect match for your interactive flat panel. Students can collaborate in their pods, then wirelessly cast their work from a laptop or tablet to the main panel for discussion. It's a key part of an active learning smart classroom design.
"Flexible Zones" for Differentiated Learning
Especially popular in K-8, this layout divides the room into distinct areas:
- A "direct instruction" zone facing the display.
- A "quiet work" zone for individual tasks.
- A "collaboration" zone with flexible seating.
- A "maker" or "STEM" zone with specific tools.
A central platform like Roombr allows a teacher to manage and push content to different zones, creating a truly differentiated experience.
2. Furniture: The "Tools" That Support Your Tech
Your furniture isn't just "stuff" in the room; it's the single biggest enabler (or obstacle) to a successful smart classroom design. If your layout is the "why," your furniture is the "how."
The Golden Rule: Focus on Mobility
A flexible layout is useless if your furniture is bolted to the floor. The goal is mobility.
- What to do: Invest in lightweight desks and chairs or furniture with wheels. This allows a teacher to transform a room from a "U-Shape" for discussion to "Learning Pods" for a group project in under 60 seconds.
- Pro-Tip: A mobile, height-adjustable cart for your IFP is the ultimate flexibility tool, allowing any space to become the front of the classroom.
Solving the "Power Problem" (Before It Starts)
Your new digital classroom setup runs on electricity. But where will students charge their devices? A classroom full of tangled extension cords is not just messy; it's a major safety hazard.
- The Solution: Plan for power from day one. Look for modern classroom furniture with built-in power strips and USB ports. If that's not in the budget, install dedicated, wall-mounted charging "garages.” This is a non-negotiable part of a safe and functional design.
Roombr Insight: We often see schools spend their entire budget on the digital board, only to have the project fail because of poor power planning. A true smart classroom solution accounts for power and charging as a core part of the design, not as an afterthought.
Seats for Focus: Accessibility and UDL
Not all students learn best in a rigid plastic chair. "Flexible seating" isn't just a trend; it's an accessibility tool.
- What it is: Offering a choice of seating, such as wobble stools, standing-height desks, or even soft cushions, allows students to select what helps them focus best. This is a key principle of Universal Design for Learning (UDL) and a hallmark of an inclusive smart classroom design.
3. The Foundation: Fixing the Physical Sound Environment
This is the most critical and most-ignored part of any smart classroom design. You can buy the most expensive microphone system in the world, but if your room sounds like an echo chamber, your audio will always be terrible.
The "Echo Chamber" Problem
Why does your room sound "unclear"? Most classrooms are a box of hard, flat surfaces: tile floors, concrete walls, large windows, and a hard ceiling. Sound waves from the teacher, the students, and the speakers bounce off these surfaces, creating a wash of echo and reverb.
Your microphone can't tell the difference between the teacher's voice and the echo of that voice.
Two Simple, Non-Tech Fixes for a "Quiet" Room
Before you ever buy a microphone, you must treat the room.
- Soften the Room (Stop the Bounce): This is the easiest and most effective fix. Add absorptive materials to "soak up" the echo.
- Floors: Add area rugs or carpeting (especially in K-5 rooms).
- Walls: Hang fabric-covered bulletin boards, tapestries, or student artwork. For a more professional fix, install decorative acoustic panels.
- Windows: Install simple curtains or fabric blinds.
- Block the Hallway (Stop the Noise): A huge source of audio pollution is noise from the hallway. A simple, inexpensive foam "door sweep" at the bottom of your classroom door can make a massive difference, ensuring your recordings and hybrid classes are not interrupted.
Roombr Insight: Fixing your room's physical acoustics is the essential first step. But even a perfect room needs the right audio hardware. A quiet room won't fix a bad microphone, and a great microphone can't fix an "echoey" room. They must work together.
That's why we created a separate, in-depth guide for choosing your audio tech. Once your room is prepared, the next step is to choose a system that avoids the "Hardware Divide."
Read our complete guide: The 3 Core Enemies of Clear Classroom Audio to learn why an all-in-one solution is the only way to guarantee clear sound.
A Complete Smart Classroom Design Solution
A true smart classroom solution is a holistic ecosystem. It’s where your technology, your teaching strategy, and your physical environment all work together in harmony.
- Your tech (like the setups in our guide) provides the tools.
- Your plan (like our 9-step digital classroom setup guide) provides the strategy.
- Your physical design (this guide) provides the foundation.
When your flexible layout supports your collaborative pedagogy, and your smart furniture powers your student devices, and your "quiet" room lets every voice be heard that is when you unlock the true potential of your investment.
Don't just buy a digital board. Build a complete learning environment.
Ready to Design a Complete Smart Classroom Setup?
Roombr provides complete smart classroom solutions, not just products. Our education experts can help you design a holistic learning environment.
Contact a Roombr education expert today for a free, no-obligation consultation.

Foziya Abuwala
Share
Step Into the future of
Education with Roombr


.jpg)